
HackTheBox on Passage Machine Walkthrough – Medium Rated
Medium Machine Challenges, cracksation, cyberchef, HackTheBox, Linux, Penetration Testing, source code review, upload, USBCreatorIn this post, i would like to share a walkthrough of the Passage Machine.
This room has been considered difficulty rated as a MEDIUM machine

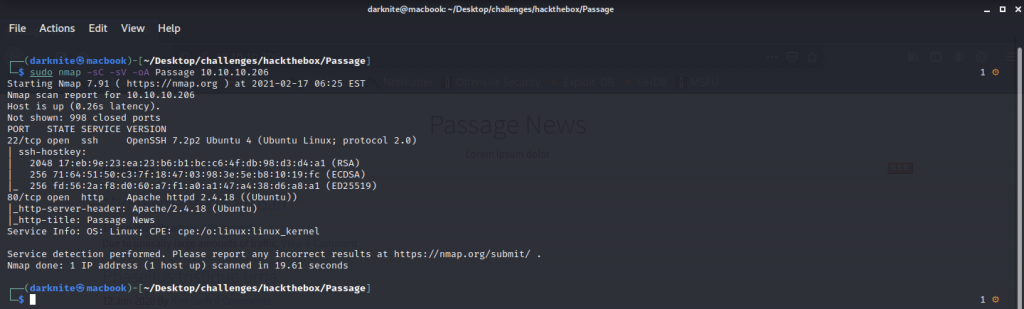
Once we have started the VPN connection, we can start the information gathering on the machine by executing the command nmap -sC -sV <IP Address> -PN
Information Gathering on Passage machine
Let’s open the browser and straight into the website interface.
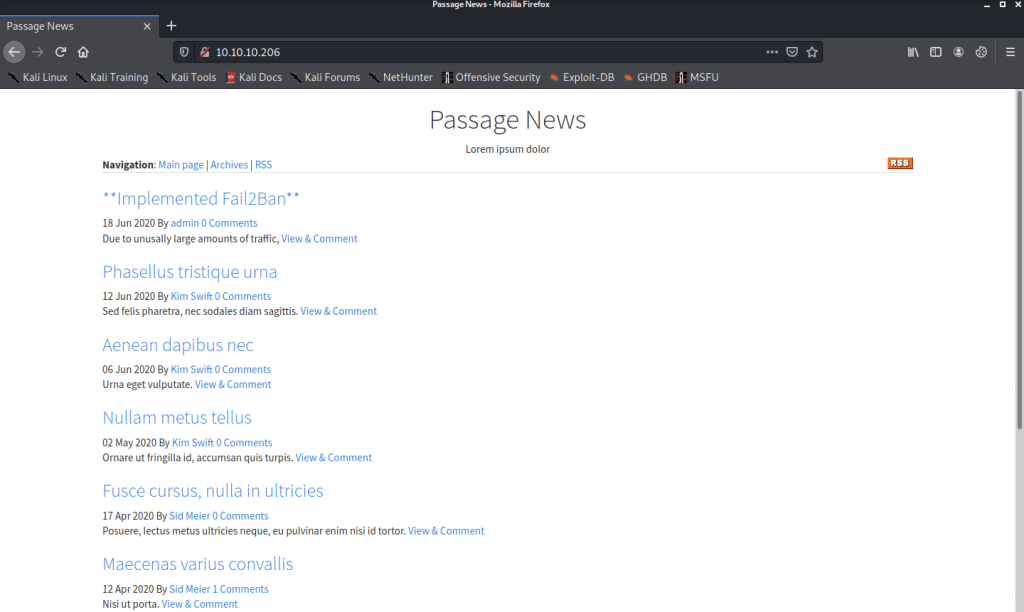
Nothing that we can make use of here. As a result, let’s read the source code of the website.
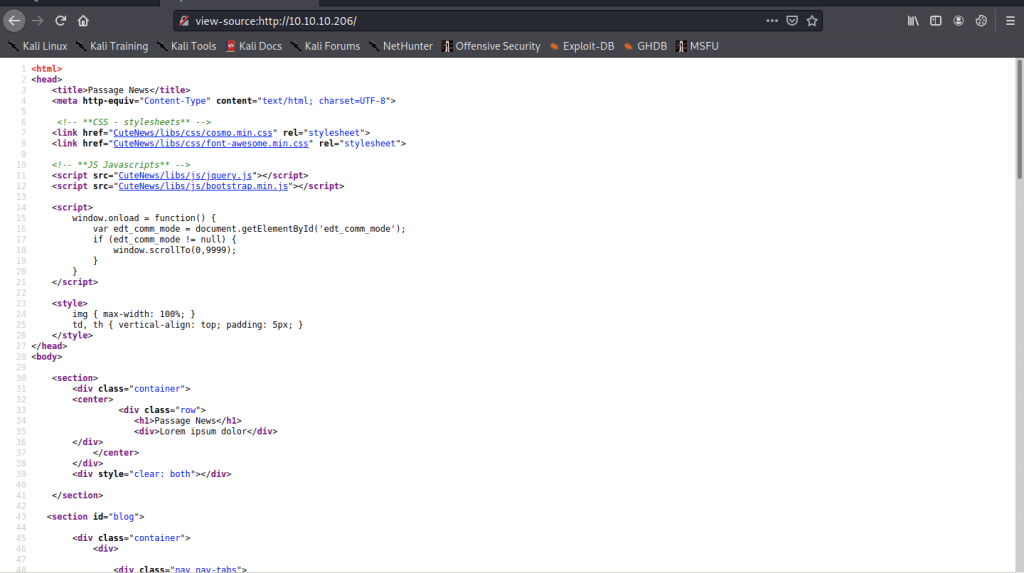
On the source code, we found a login page of CuteNews which it’s CMS portal
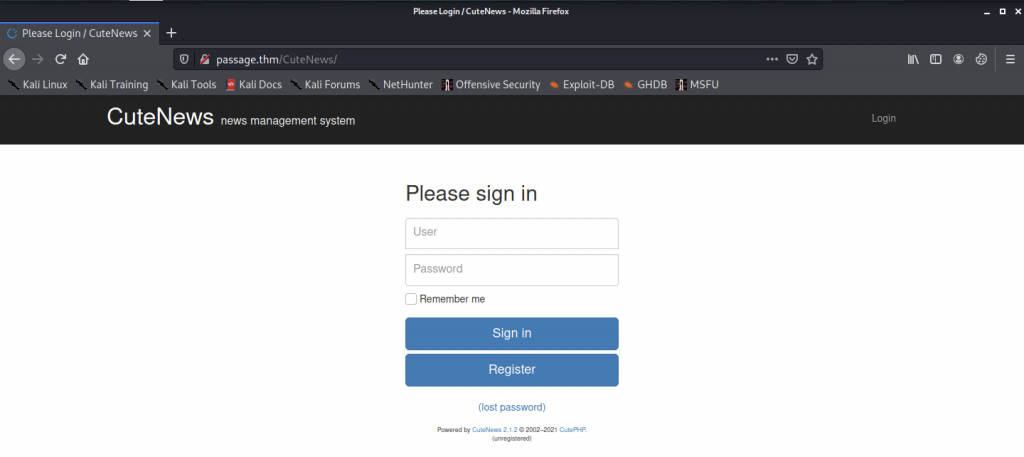
So, Let’s register so that we can login into the Dashboard

Now, we are inside the dashboard as shown below
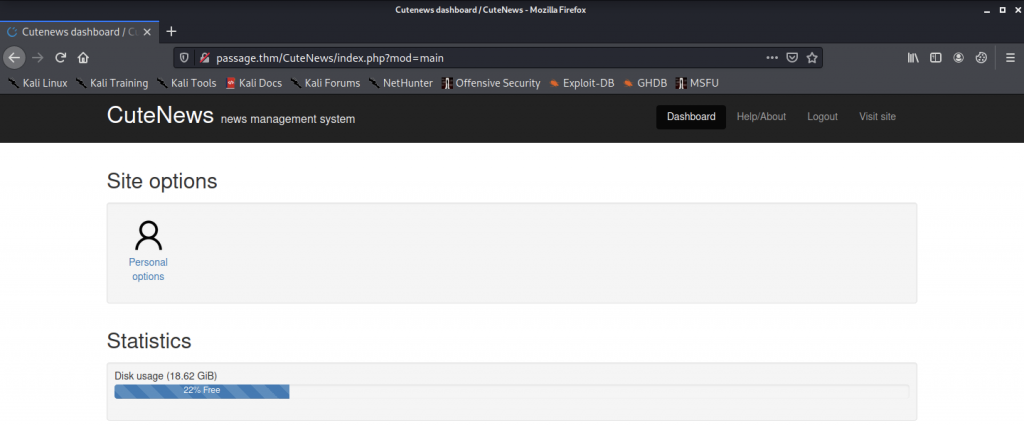
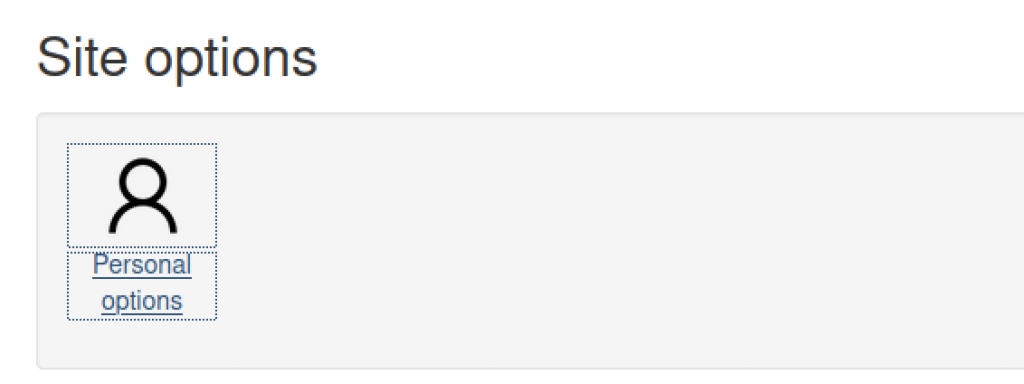
We must click on the Personal Options, and it will direct us to a page where there’s an upload function on the page.
Uploading a PHP file on the machine

We will use a normal PHP reverse shell that normally can be found on the internet and modify the file
- Add GIF8;
- Change IP
- Change Port
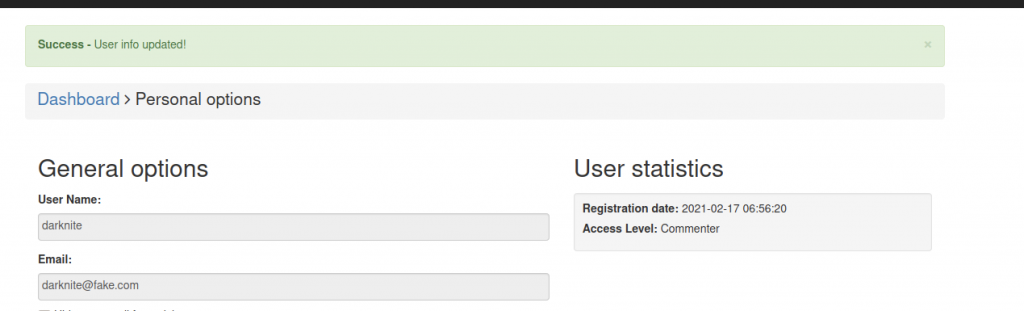
Once we have uploaded, it will appear on the top that shows we have “Success – User info updated!”

After that, we can access the uploads directory on the website path. On the upload’s web directory, I notice that the PHP shell file is been stored there. Before clicking the file, we need to run the netcat listener to get a shell connection back to us
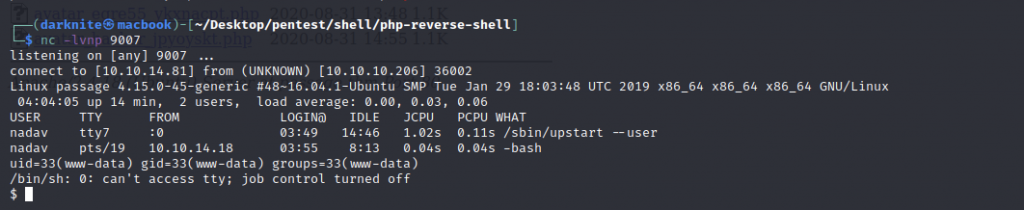
When we look back on the shell interface, the shell connection on the passage machine has been reverted to us.

We can go to /var/www/html/CuteNews/cdata/users and read all the PHP files to get anything special.
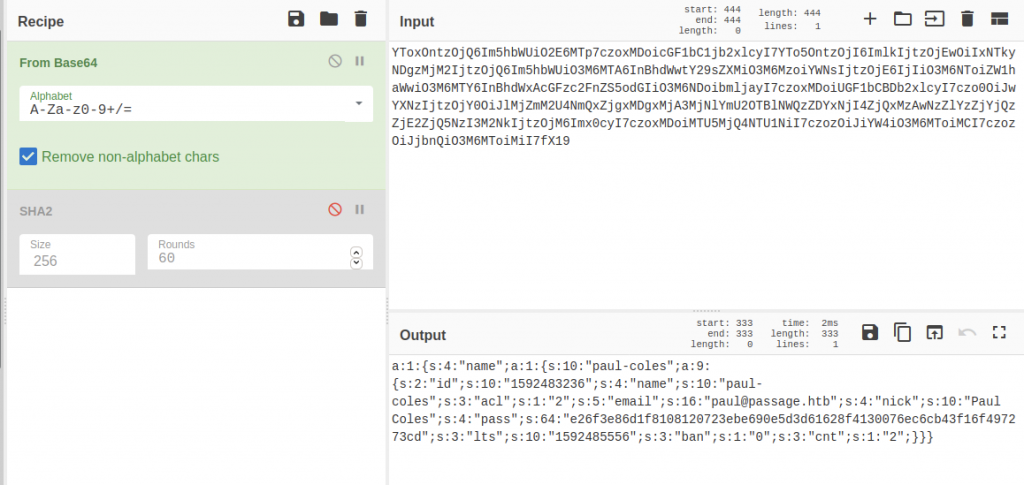
We will be using CyberChef website until we get the output which starts with e26f3e (hint base64)

Once we got those results, we will be using another website such as crackstation, and paste the result that we found into CyberChef.

Now, we can change the privileges to paul by executing su paul and using the password that we found in the previous step.

For us to read the user.txt file, we need to go to /home/paul where it’s the location of the user flag and we can read it by executing cat user.txt

We can login into the nadav privileges via ssh service which can be found at ~/.ssh and need to execute ssh -i id_rsa nadav@<IP Address>

I have notice that the exploit that we can look will be related to USBCreator which i have to do some research on the vulnerability. After a while, i have found an exploit like show on the screenshot above.
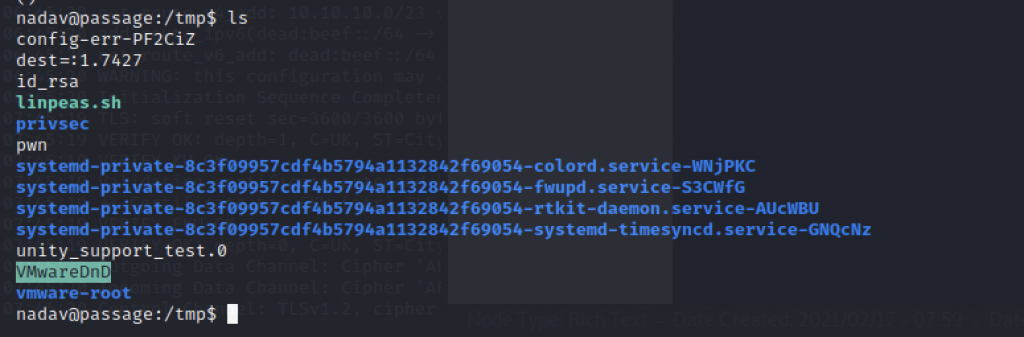
Finally, id_rsa have been there after i have multiple time executing the exploit.

Let’s use ssh service as root by executing the command ssh -i id_rsa root@<IP Address>

Once we have successfully login the machine as root, we should to /root/ directory in order to read root.txt (root flag)
-THE END-
Happy Learning Guys!